Designing a safe four-sided rope ladder to get in and out of the treehouse
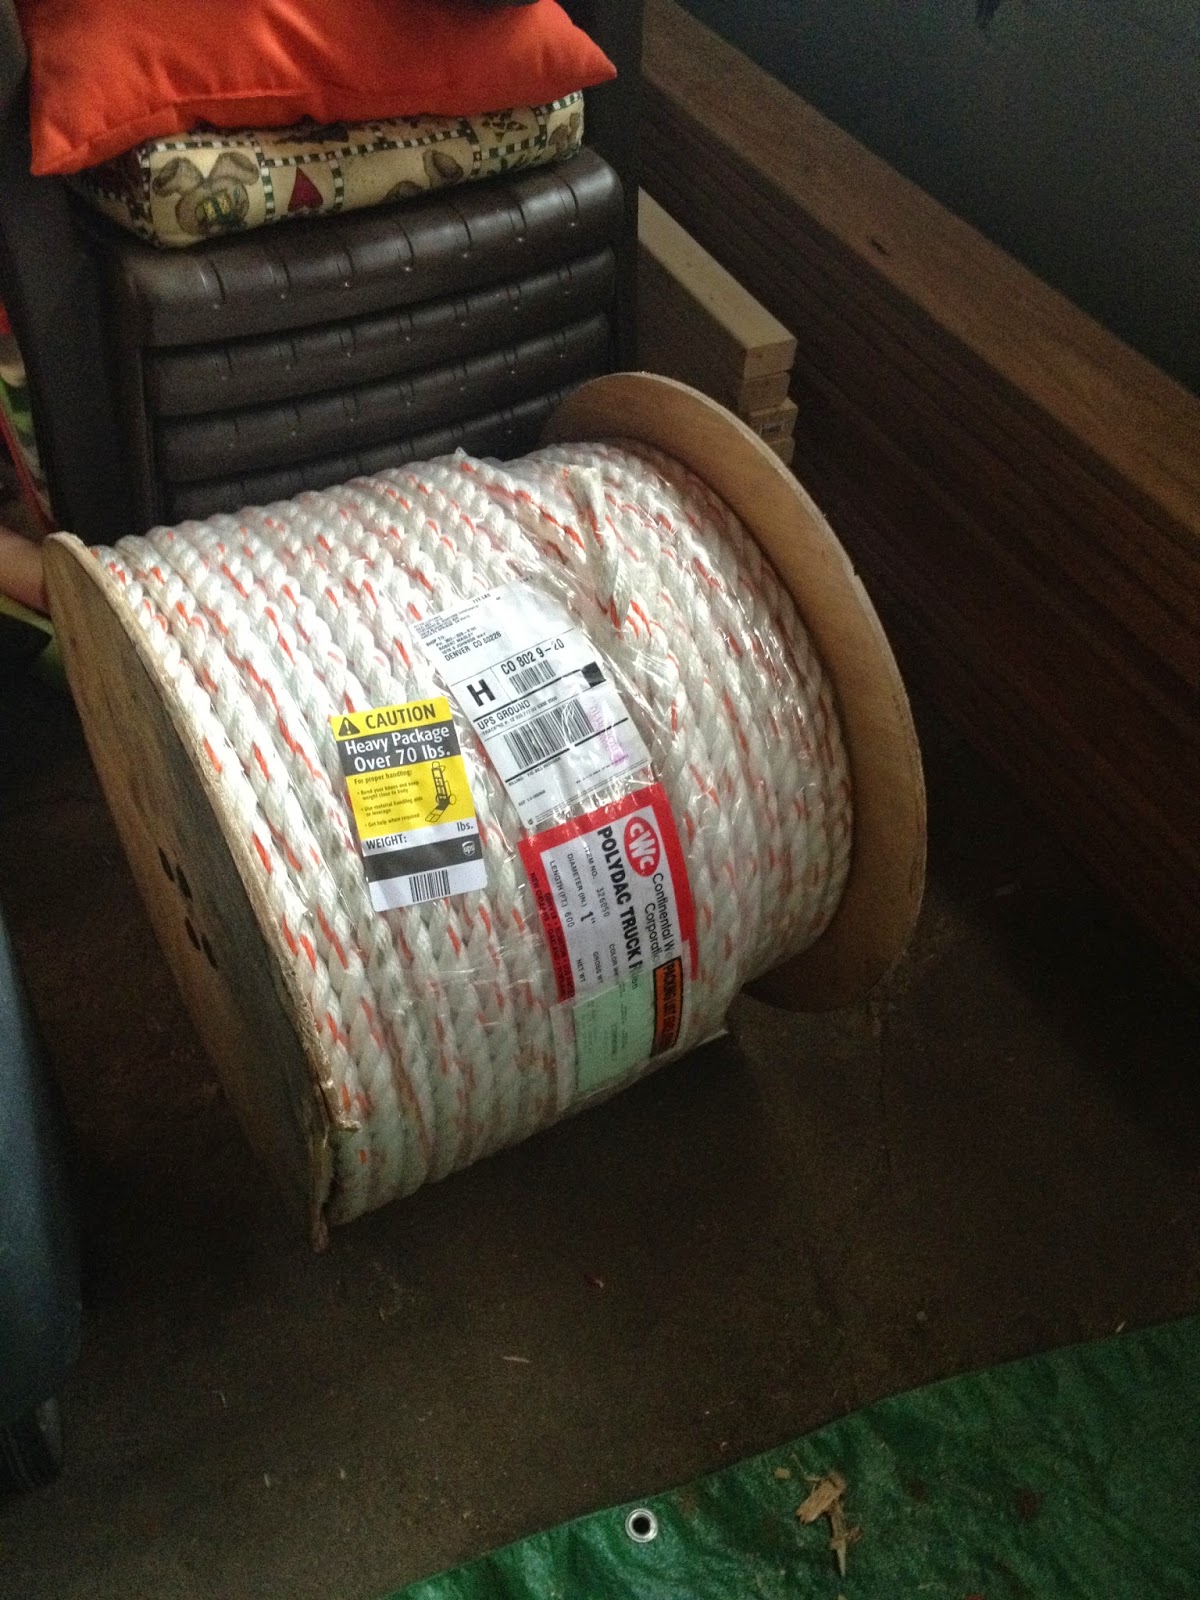
The freighter who dropped off a 600-foot roll of 1-inch polydac rope in my driveway barely batted an eye. But I had the grin of a man who, well, had a lot of great rope for a treehouse project.
Me have big rope!! (happy grunting)
Polydac rope is great for a lot of things; truckers (and other people who tie stuff down for a living) like it because it’s tough, but easy on your hands. It’s essentially a soft polyester rope wound over a polypropylene center — it won’t rot, it’s relatively lightweight, and it doesn’t stretch much at all. Plus, with a tensile strength exceeding 13,000 pounds, it wasn’t going to break on me (or anyone else) climbing up to the treehouse.
I’d done a bunch of math to figure out how much I’d need for my little project. Buying it by the foot would’ve cost almost exactly as much as getting the whole 600-foot roll — and this way I’d have a bunch left over, in case I screwed the whole thing up royally.
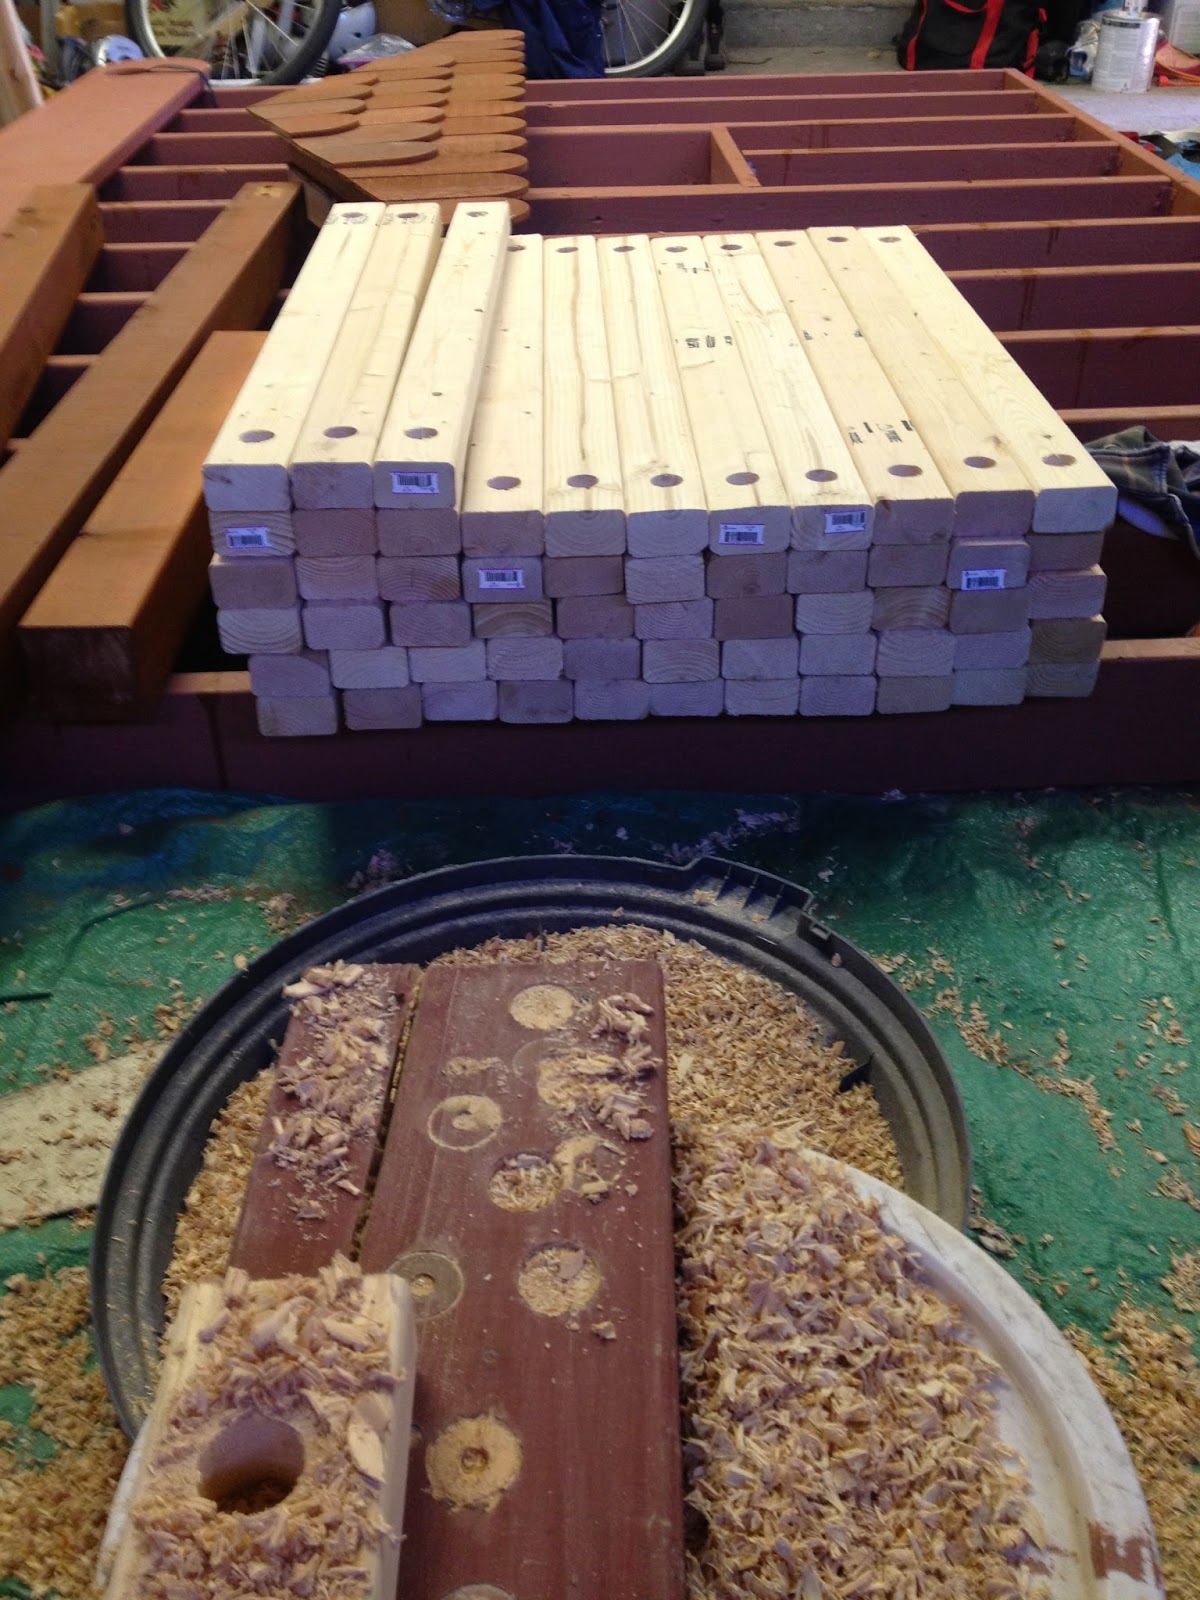
My idea was to make an enormous four-sided rope ladder that would contain kiddos as they climbed up inside it. Assuming a rung on two sides every foot or so (or two rungs per foot), I was looking at making 60 rungs. Holy cow.
I picked up a bunch of simple 2x3 lumber and cut it into 60 pieces. After sanding the heck out of it, I marked off and measured 120 holes to drill; then I drilled 120 holes.
Looking back, I can't believe I actually did this.
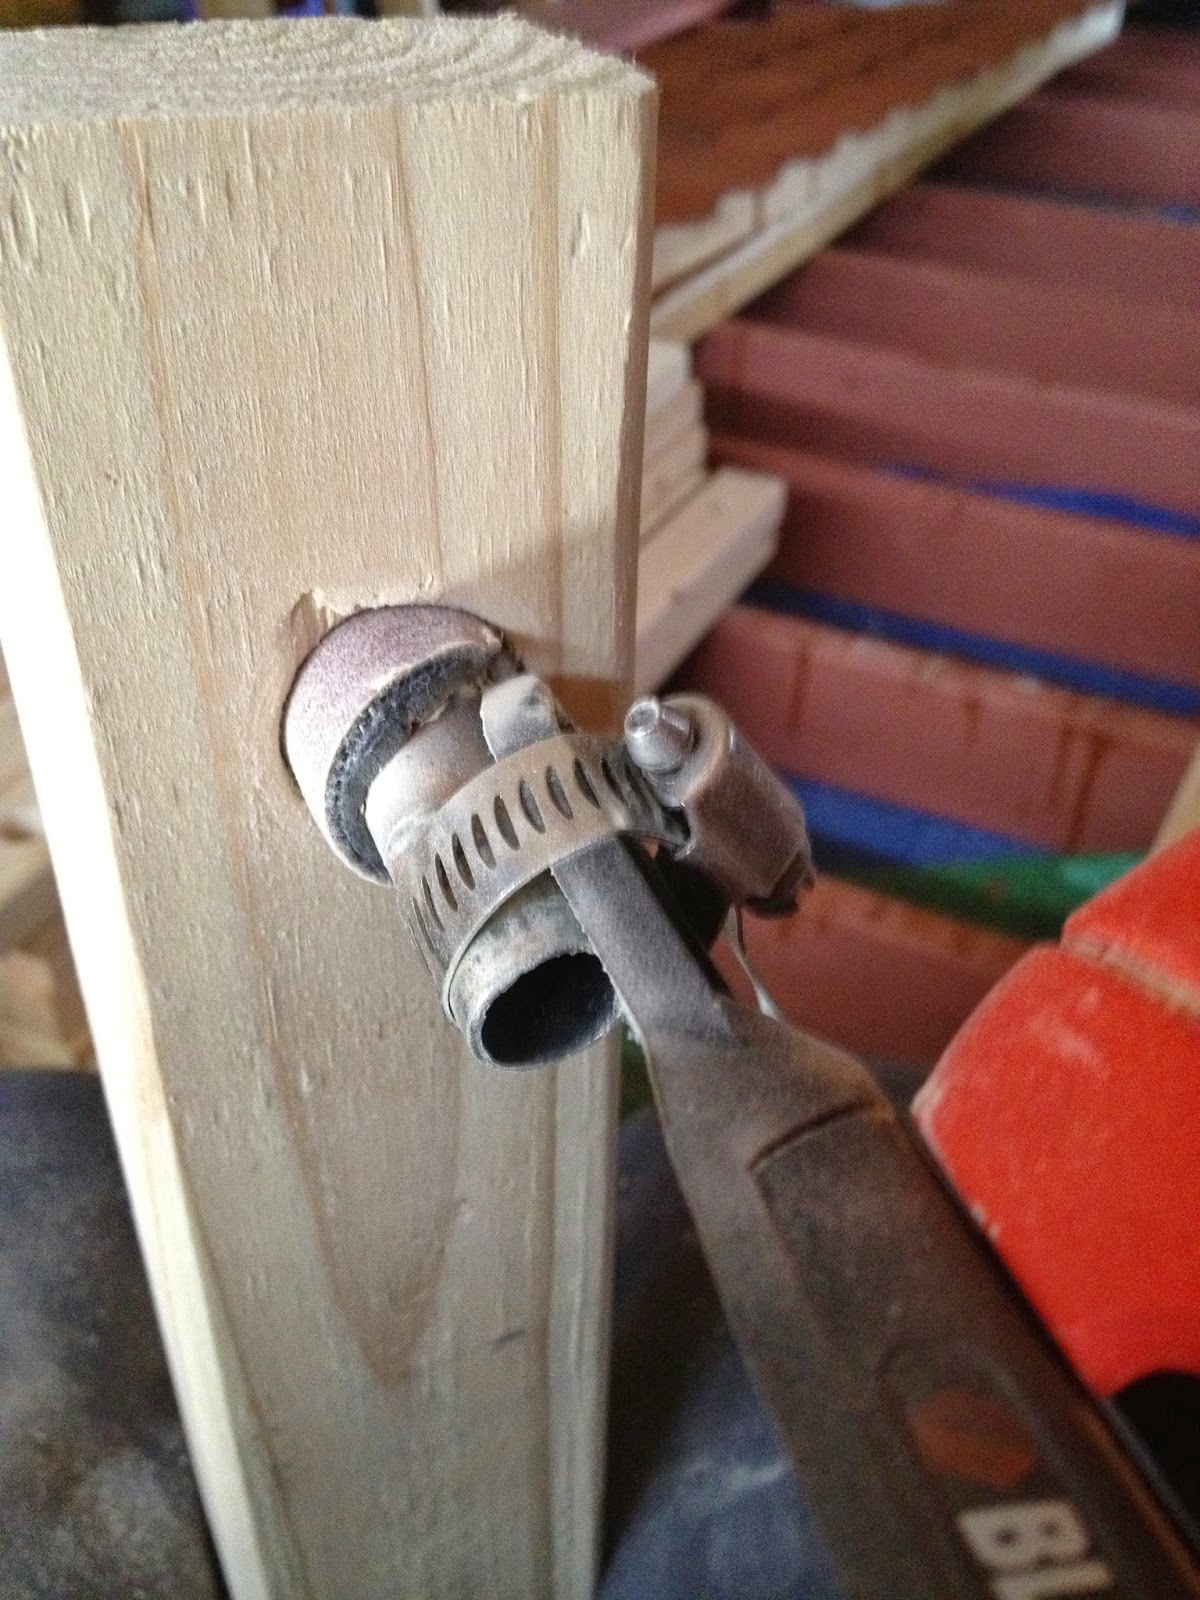
Then I fashioned this strange little device to sand the inside of the holes — I wasn’t going to let my brand-new rope get all messed up by splinters.

For some reason I didn't want to buy more tools.
Then I sanded the inside of 120 holes.
These 2x3s were never intended to get this much attention.
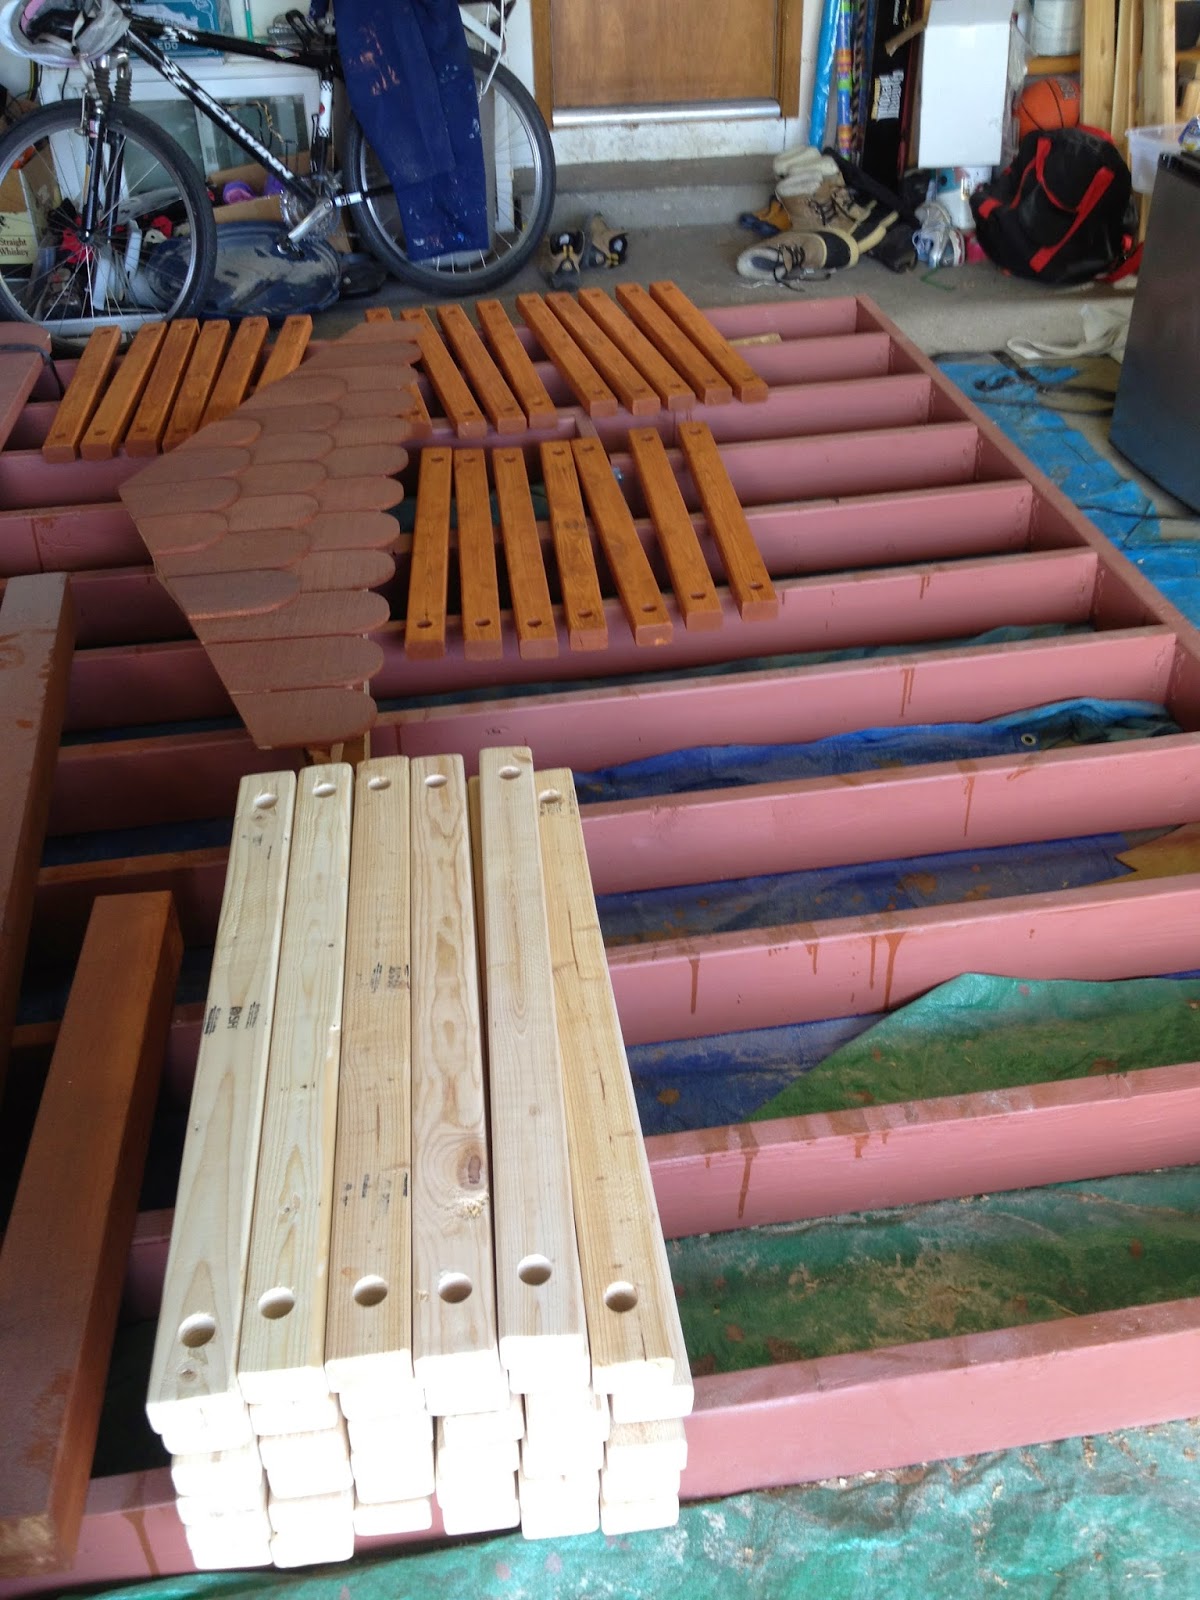
And finish sanded all the rungs again.

Your humble author, covered in sawdust and wood shavings.
Finally, with the help of my wife, I pre-stained all 60 rungs.
Again, looking back, I can't believe we actually did this.
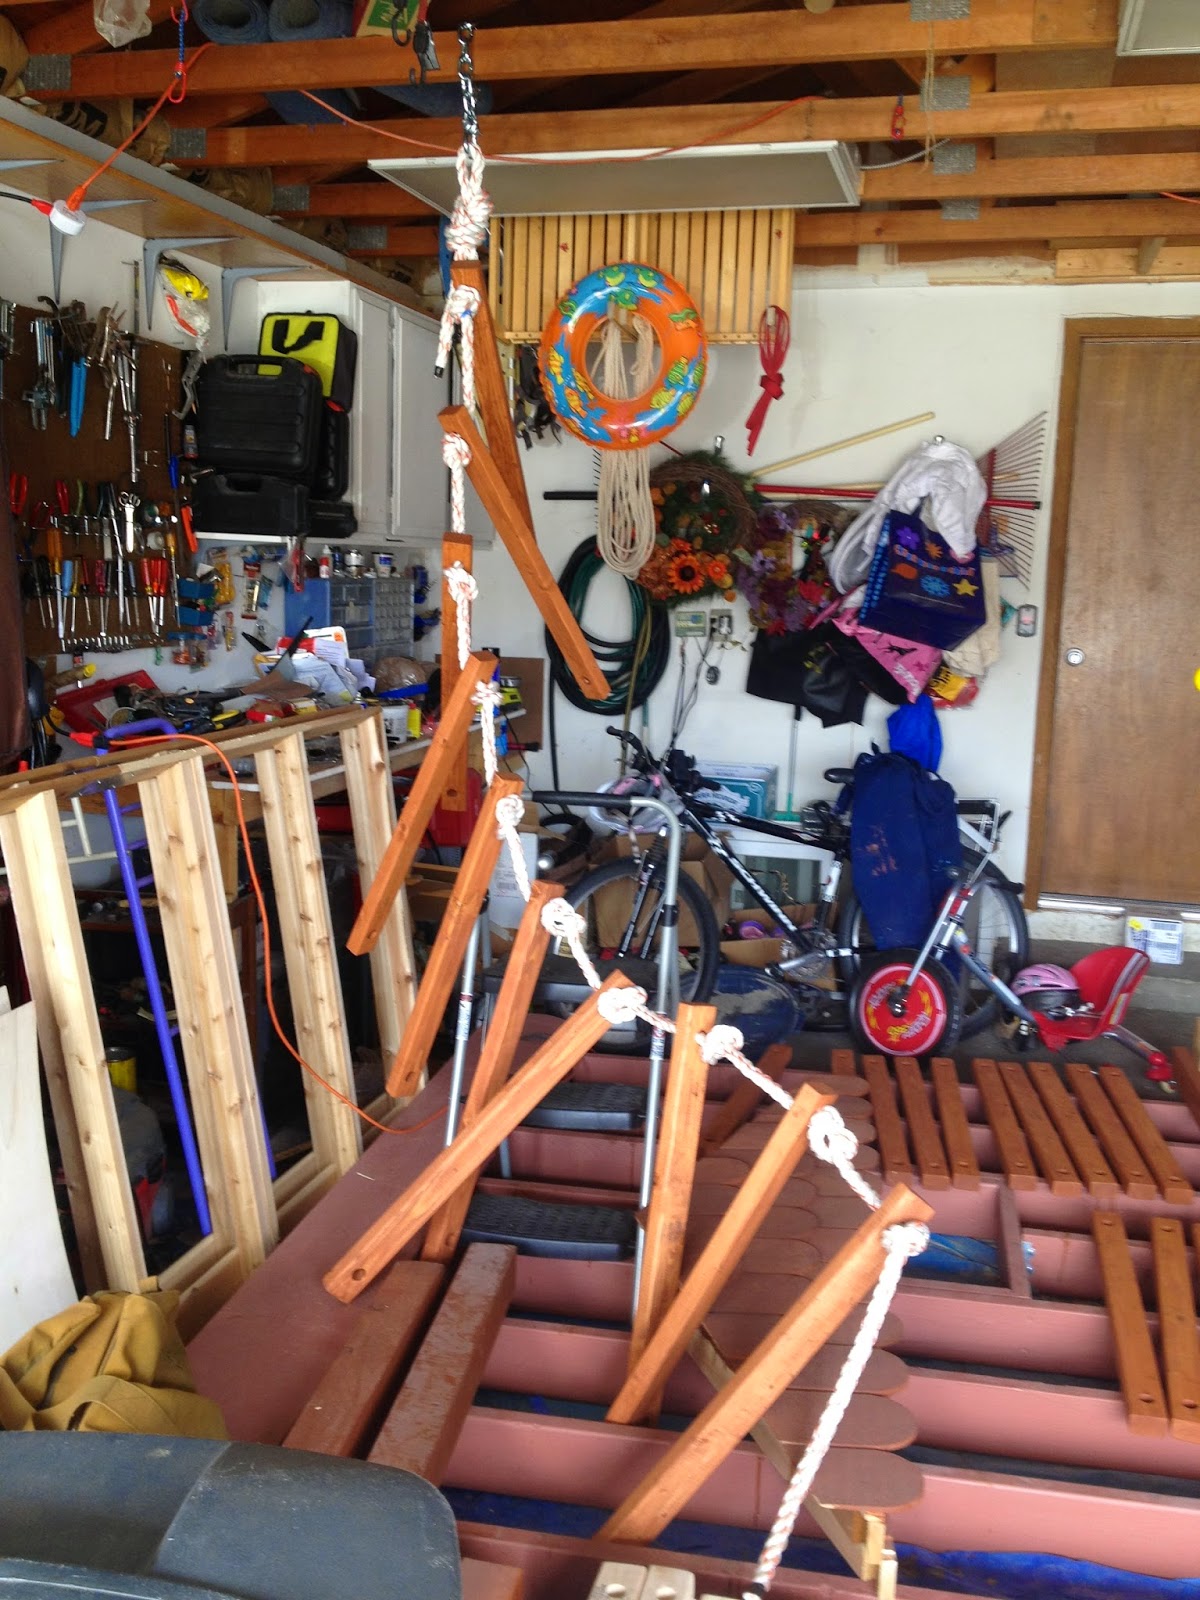
Finally it was time to start tying the treehouse rope ladder.
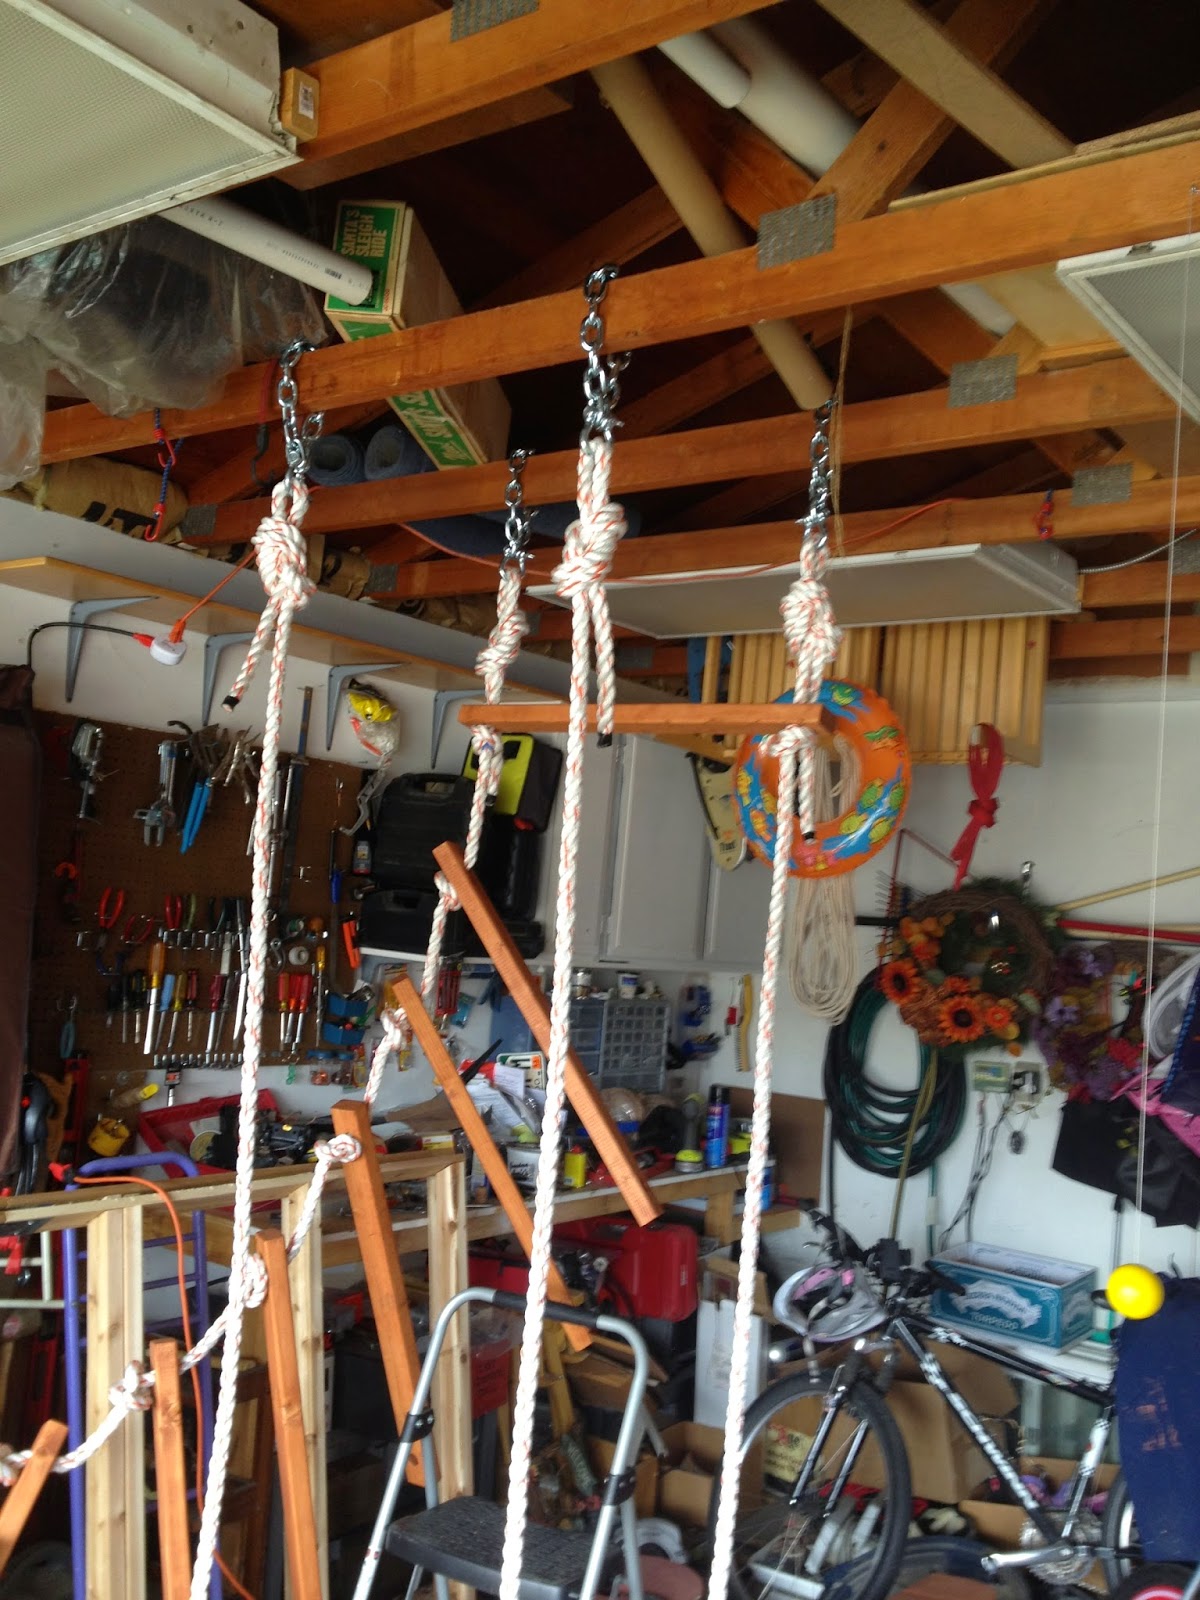
The plan was for a simple overhand knot under each end of each rung (so 120 knots). At the top of each rope would be a figure-8 knot and thimbled loop, which I could shackle to strong chain strung right over the treehouse floor framing. I measured how much rope each knot took up, did some math, cut some rope, and pretended my garage framing was the treehouse floor.
I was really pleased with the rope, it was easy on my hands. Which was good, because it was a lot of knot tying.
It was sort of a big sewing project. With "Tie the Man Down" going in my head.
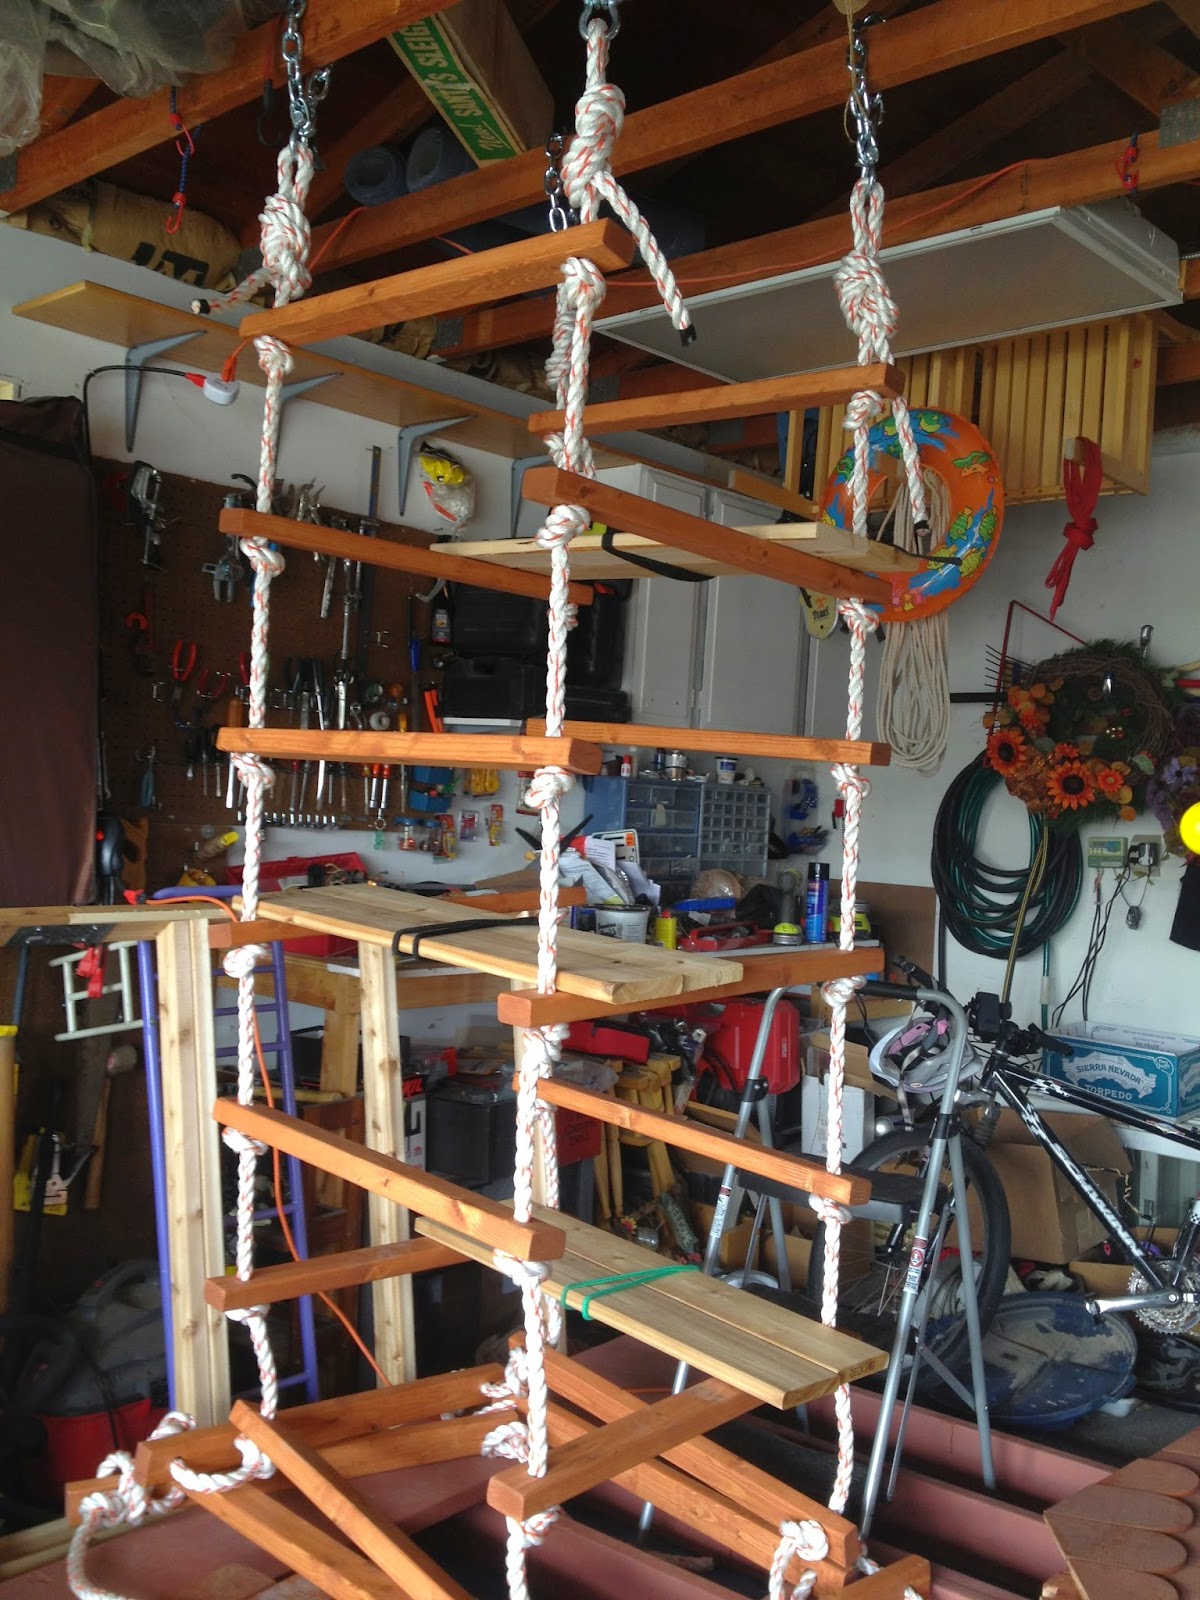
Here I've got a section almost completed, and I'm playing around with an idea of adding some extra planking in there to make life easier for little climbers. The idea evolved nicely and a variation wound up in the final ladder.
Ultimately the thing started to get heavy, so I decided to make it in three 10-foot (or so) tall pieces, which I’d attach to one another with a figure-8 follow-through knot. The bottom section I’d design to unclip with carabiners, so I could bring the bottom of the ladder in at night — improving treehouse “security” (and letting me be the last word as to when kiddos would be going up).
It was coming together nicely; I had a method to get in and out of the treehouse, hopefully. Which was good, because the weather was getting better; it was almost time to get back in the tree.
On to Part 13: Raising the Treehouse Platform
No comments:
Post a Comment