Thursday, February 26, 2015

Converting a Chicken Coop into a Playhouse

Chicken Coop to Playhouse (and Maybe Back Again)

Final product (-ish) first for a change, here’s the playhouse as it ended up.


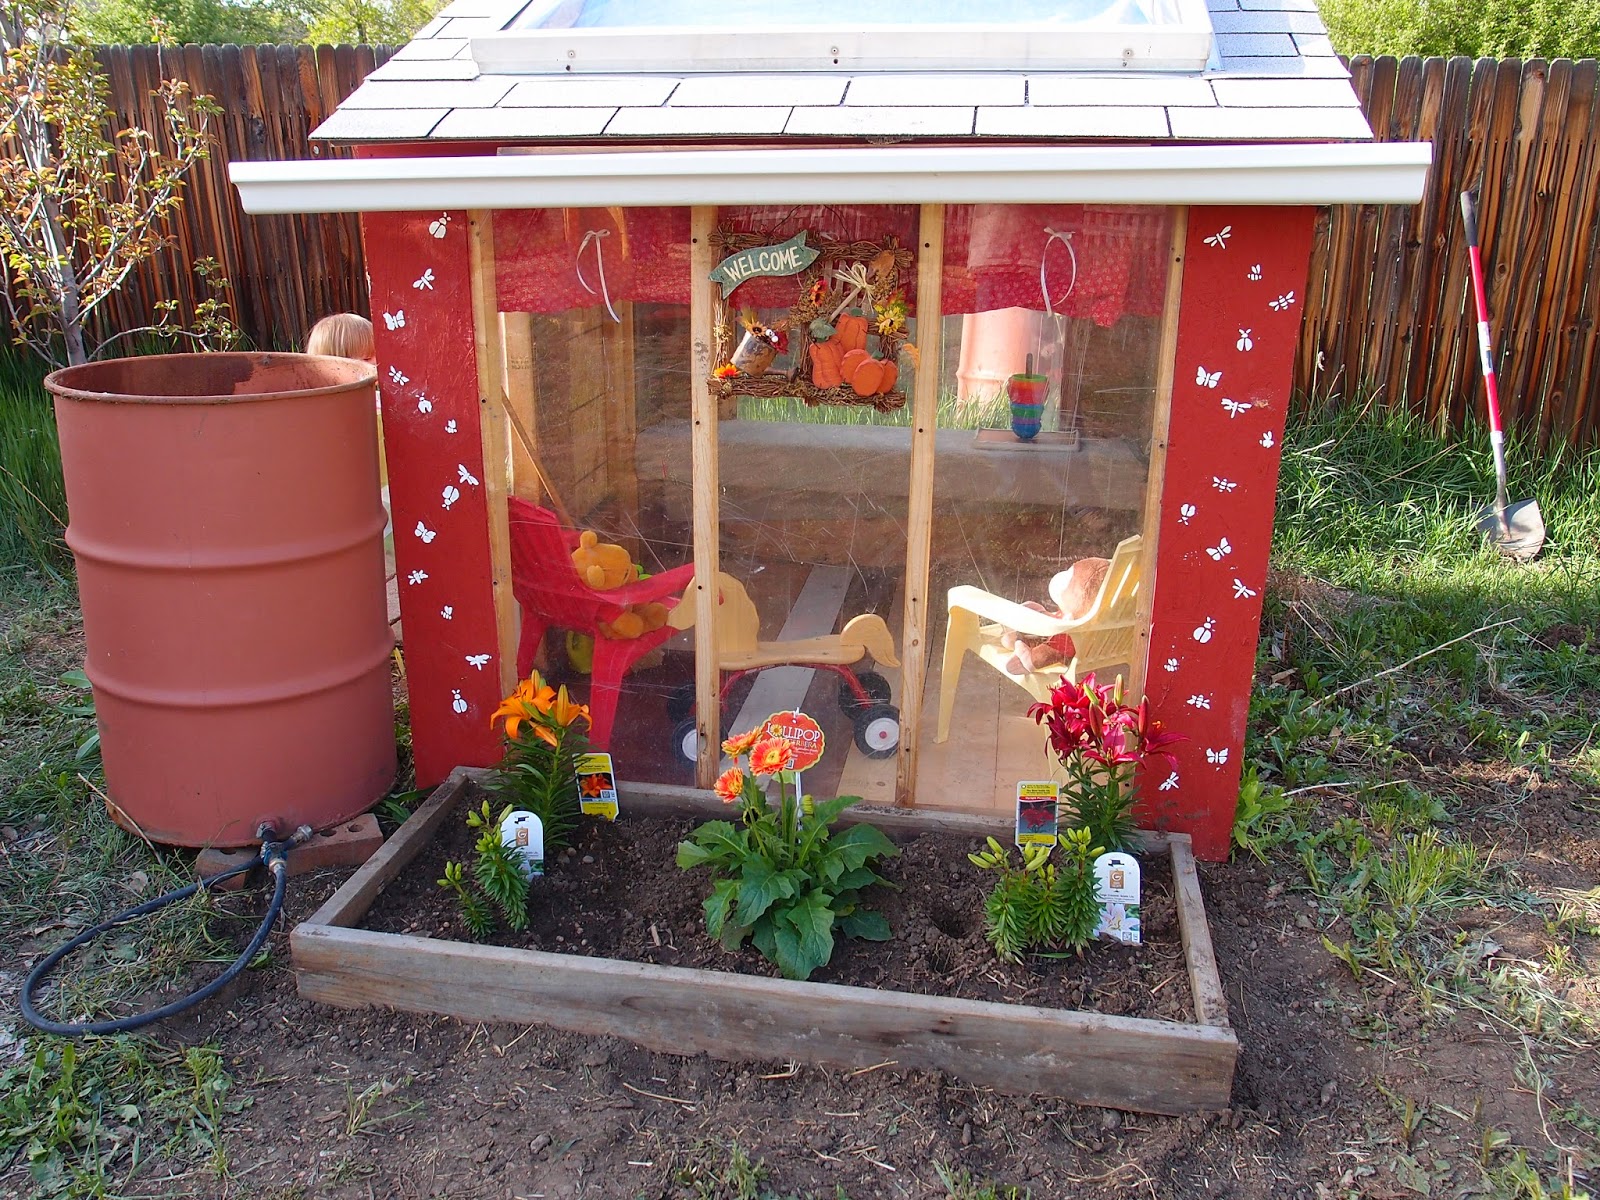
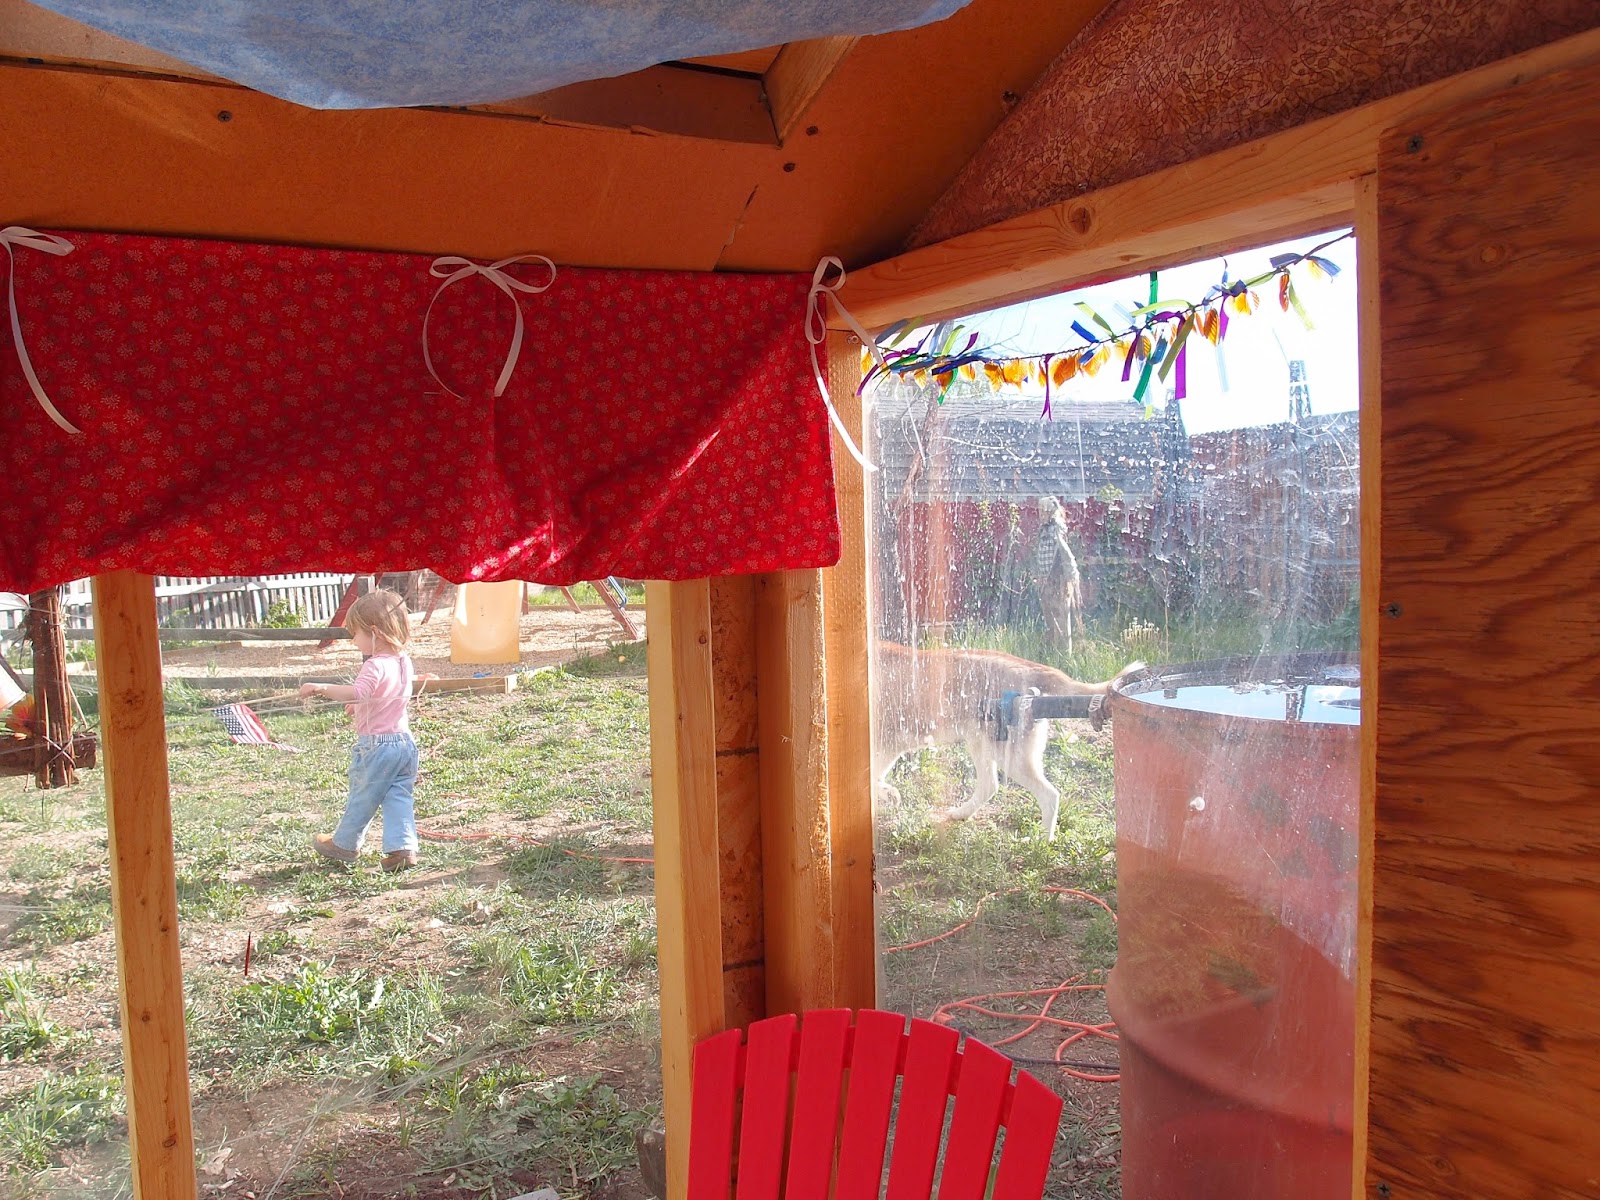
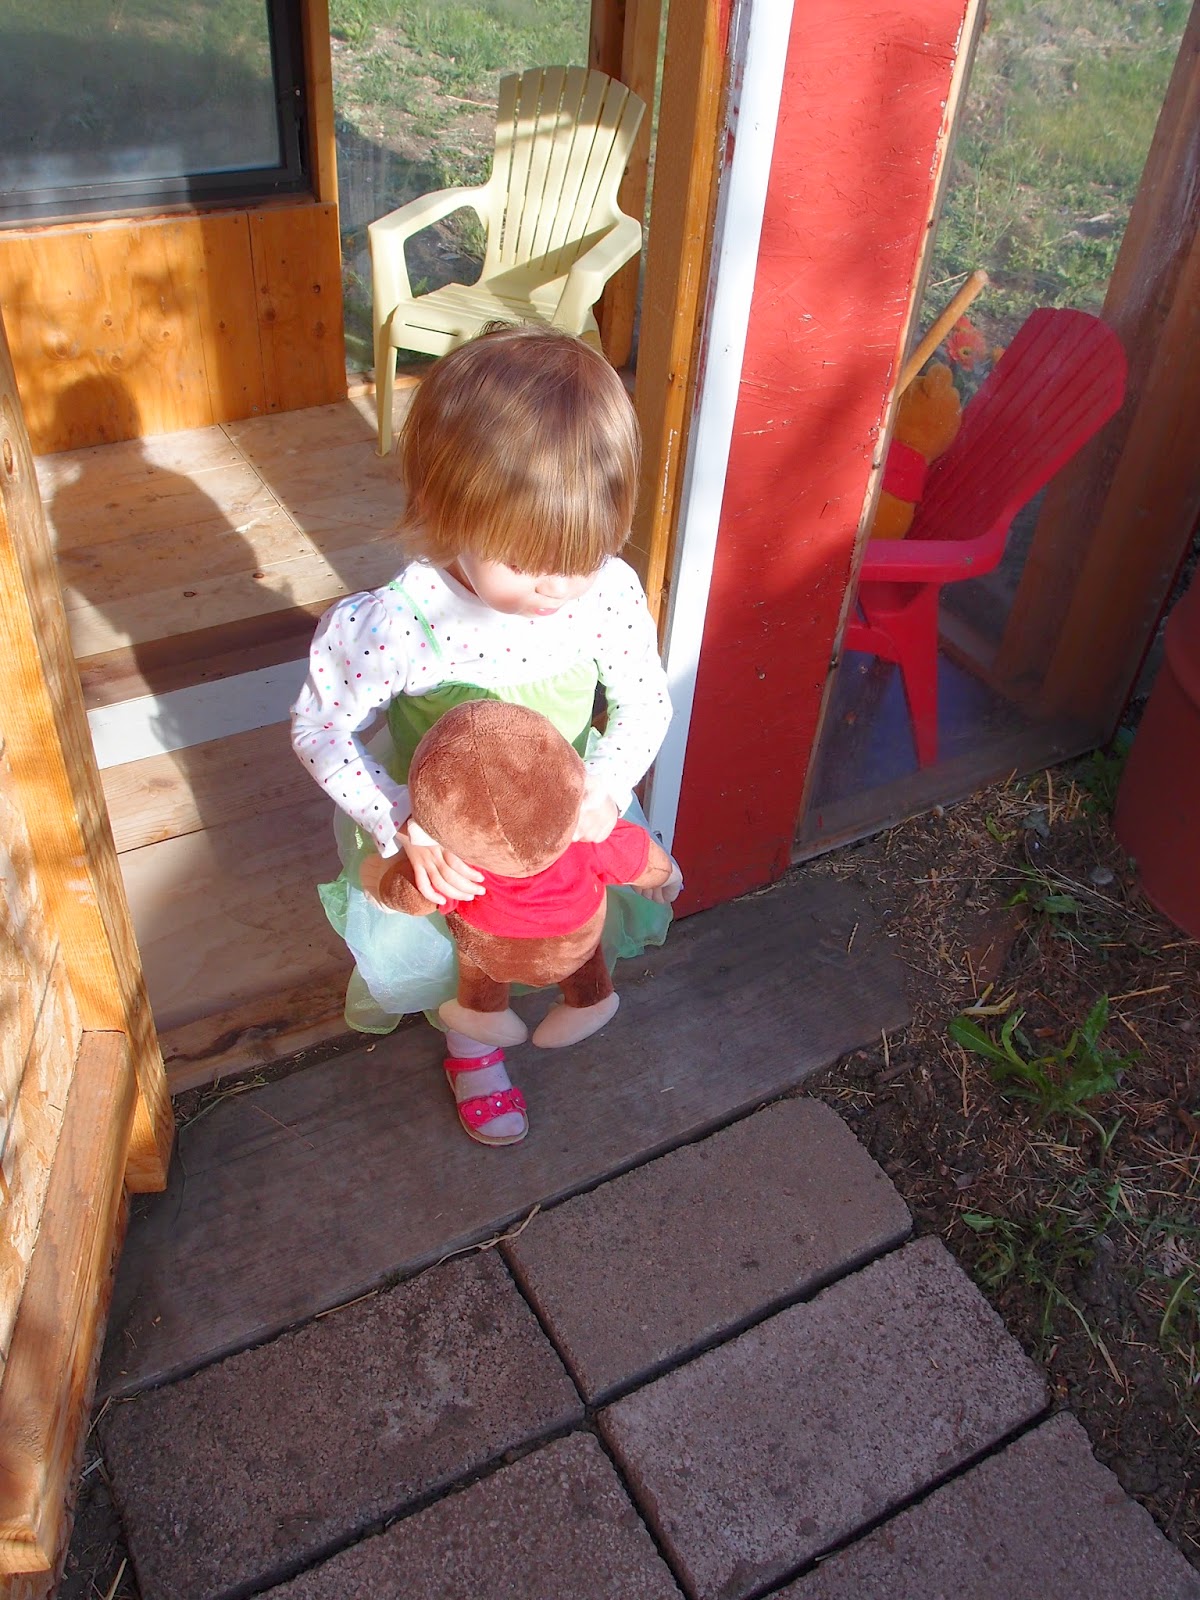
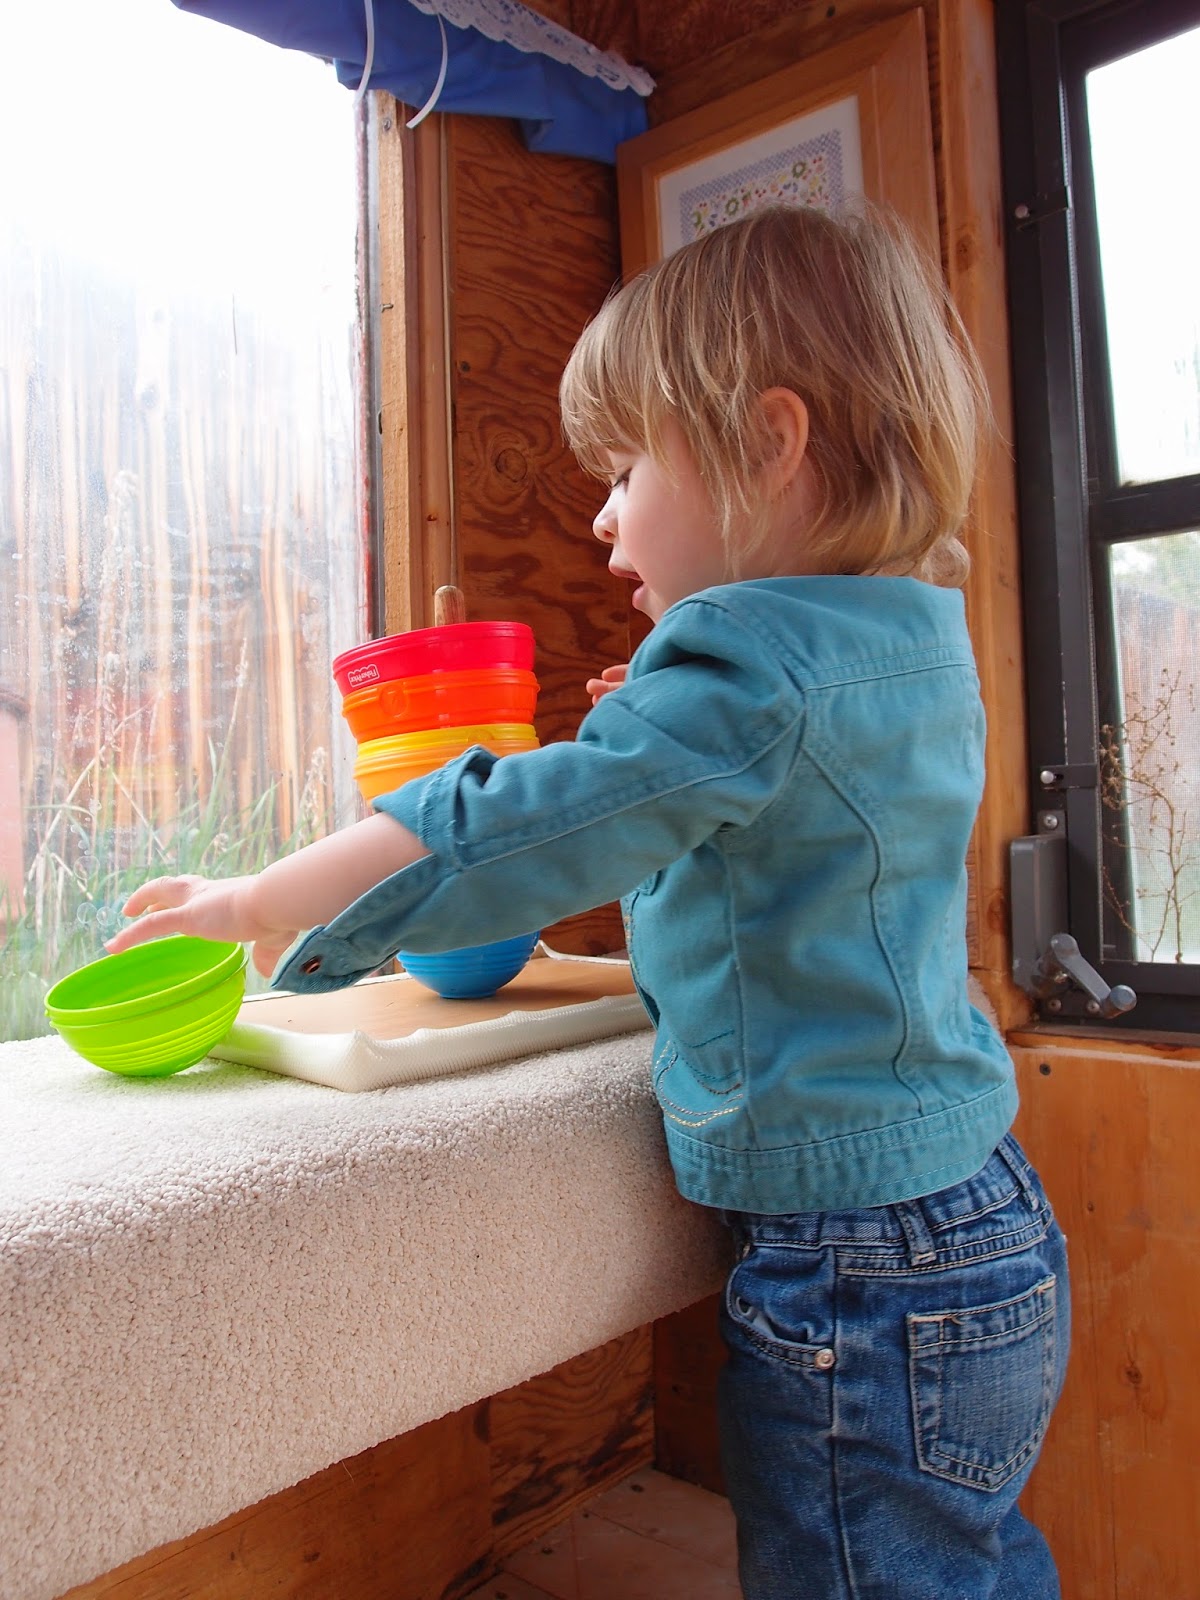
My daughter was pretty pleased, and enjoyed her time in there:


So this was one of my first little projects for her, done a few years ago. The initial steps involved a ton of weeding inside the coop, actually; the previous owners of our house hadn’t kept chickens for years, so the coop was working like a greenhouse for thorny nasty plants. Then there was a bunch of bleach to be sprayed, just in case; then the "airing it out" portion of the project. After a bit I put down this cement board I had lying around, just to see if it would be any fun to play in. My daughter figured out what was up (she was about 2 at the time) and started helping.


A better look at the plexi windows that were already in place. The advantage is they’re south-facing, so the coop (and eventual playhouse) is pretty warm in the winter. The disadvantage is you can see how a man’s yard goes to heck when he has a kiddo.


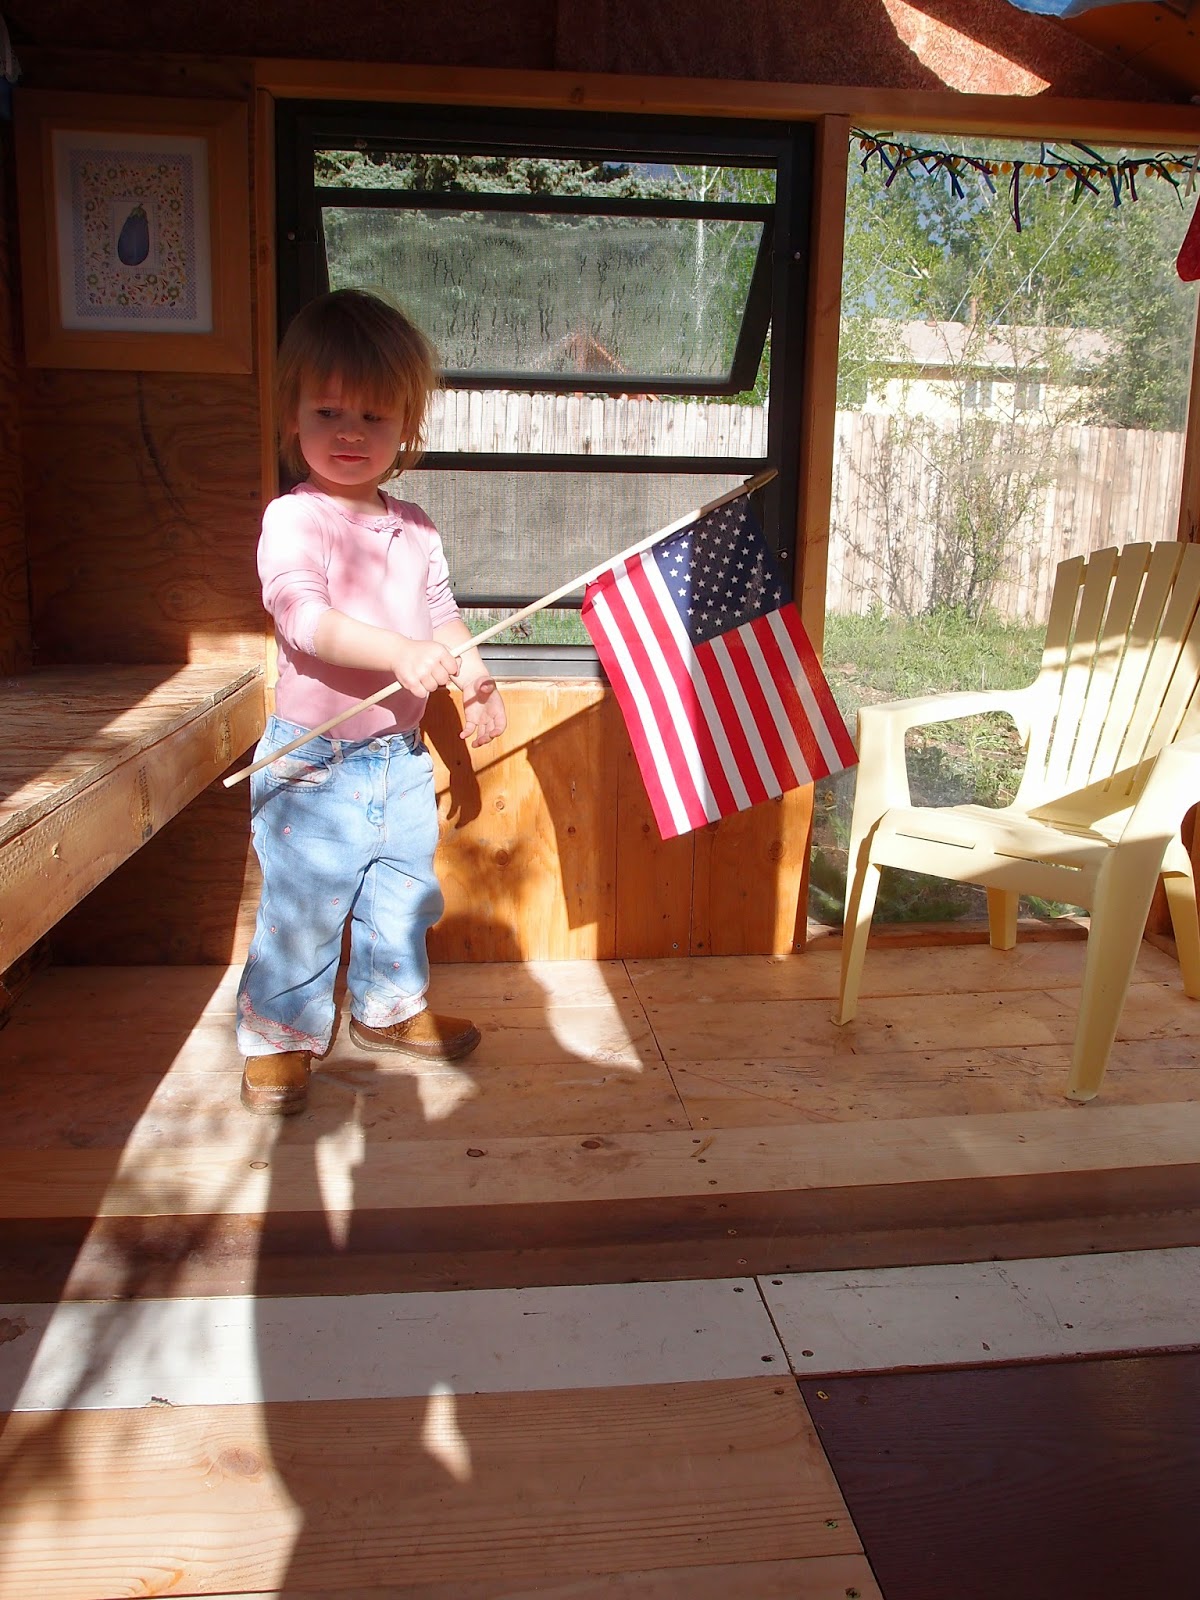
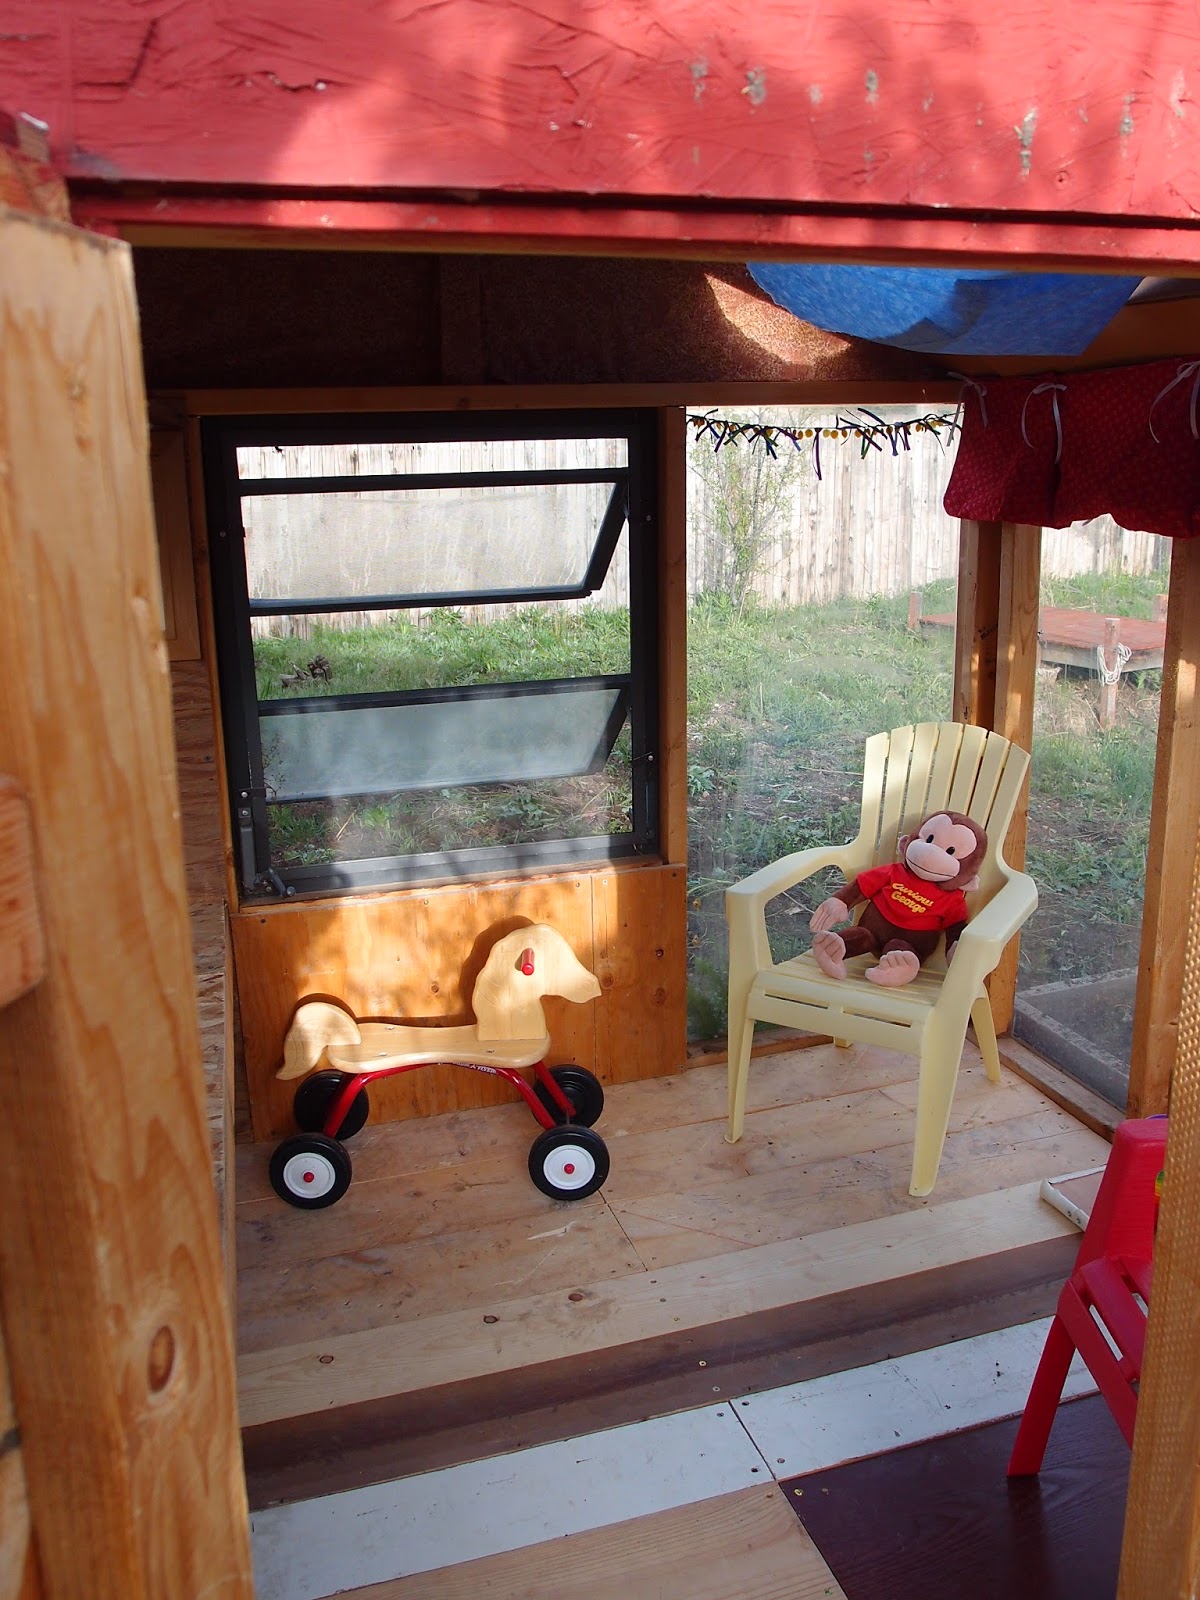
I pulled out the cement board and put down actual boards — in this case I took nearly every bit of random scrap plywood and deck-size board out of my garage and cut it to fit. There’s a 2x6 acting as a sort of joist underneath, as well as a bunch of cement pavers just to keep the floor off the dirt. I didn’t put too much effort into making it last forever, although it has (so far).


My wife added a cork board above the north window (which eventually became filled with kid art!) and some window trim. The little chicken perch turned into a shelf.


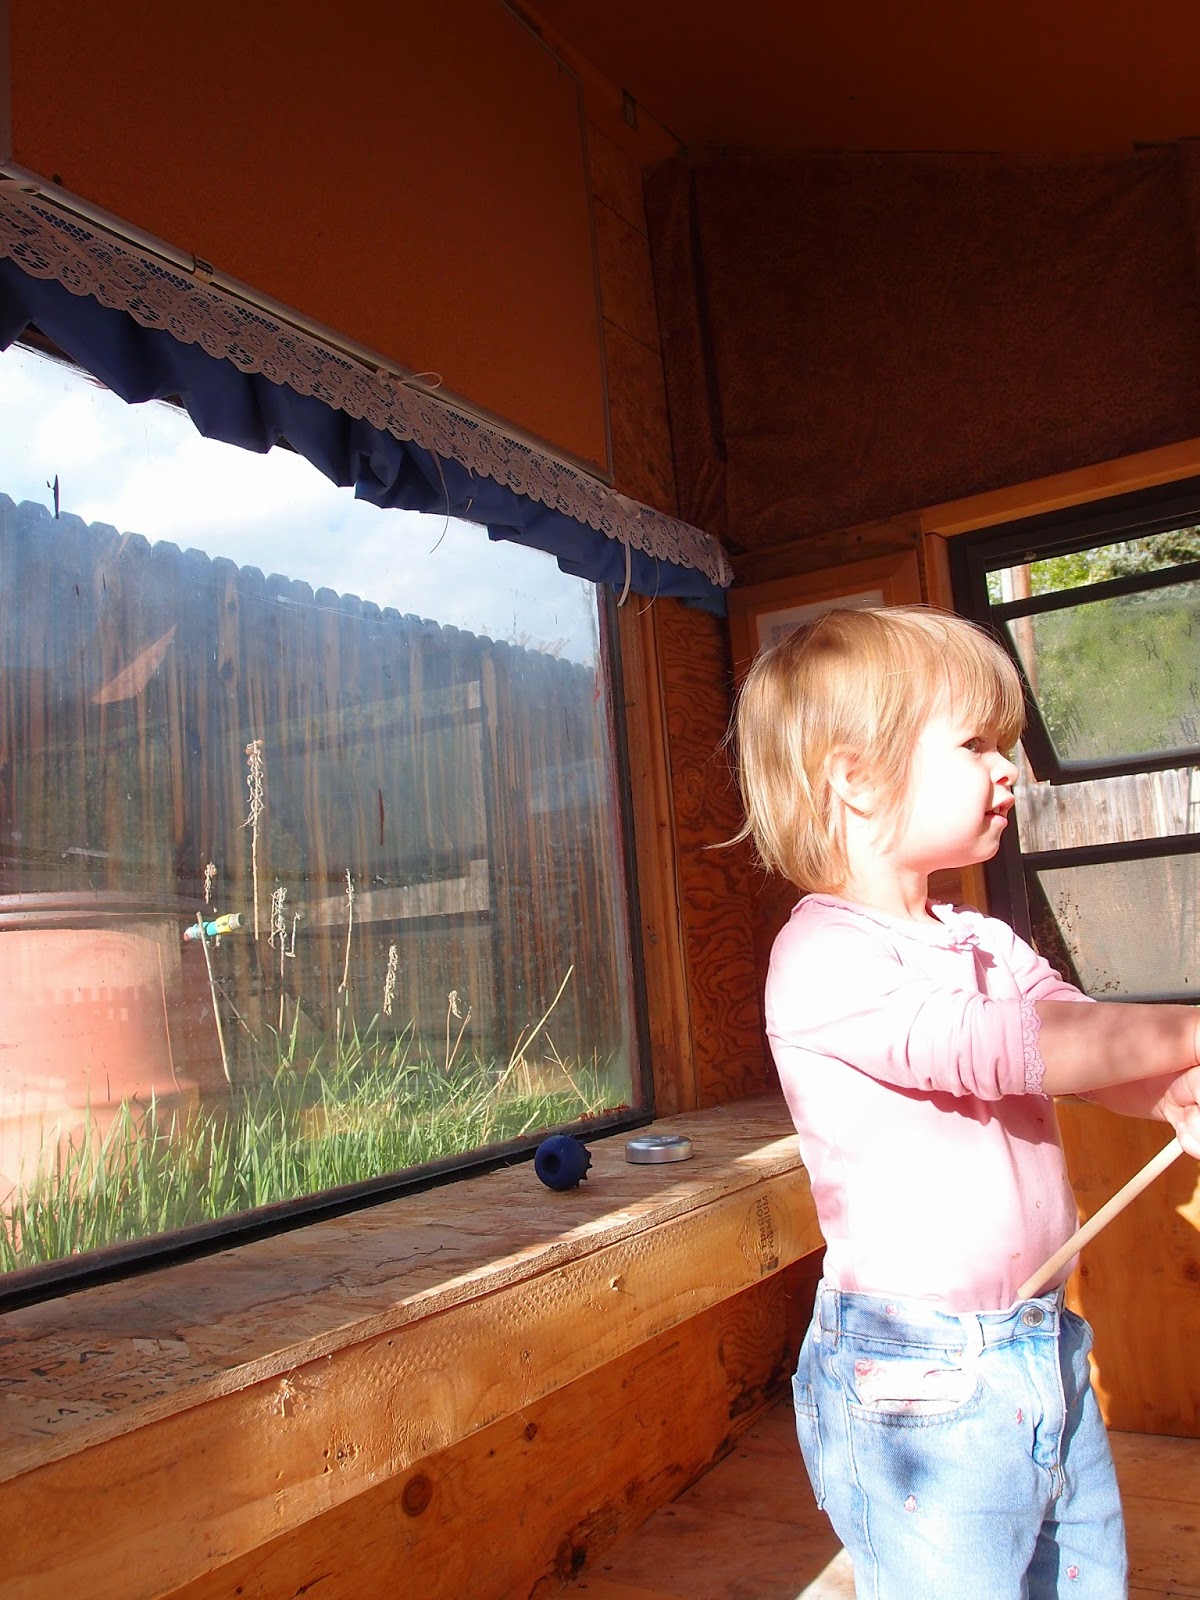
More window treatments.


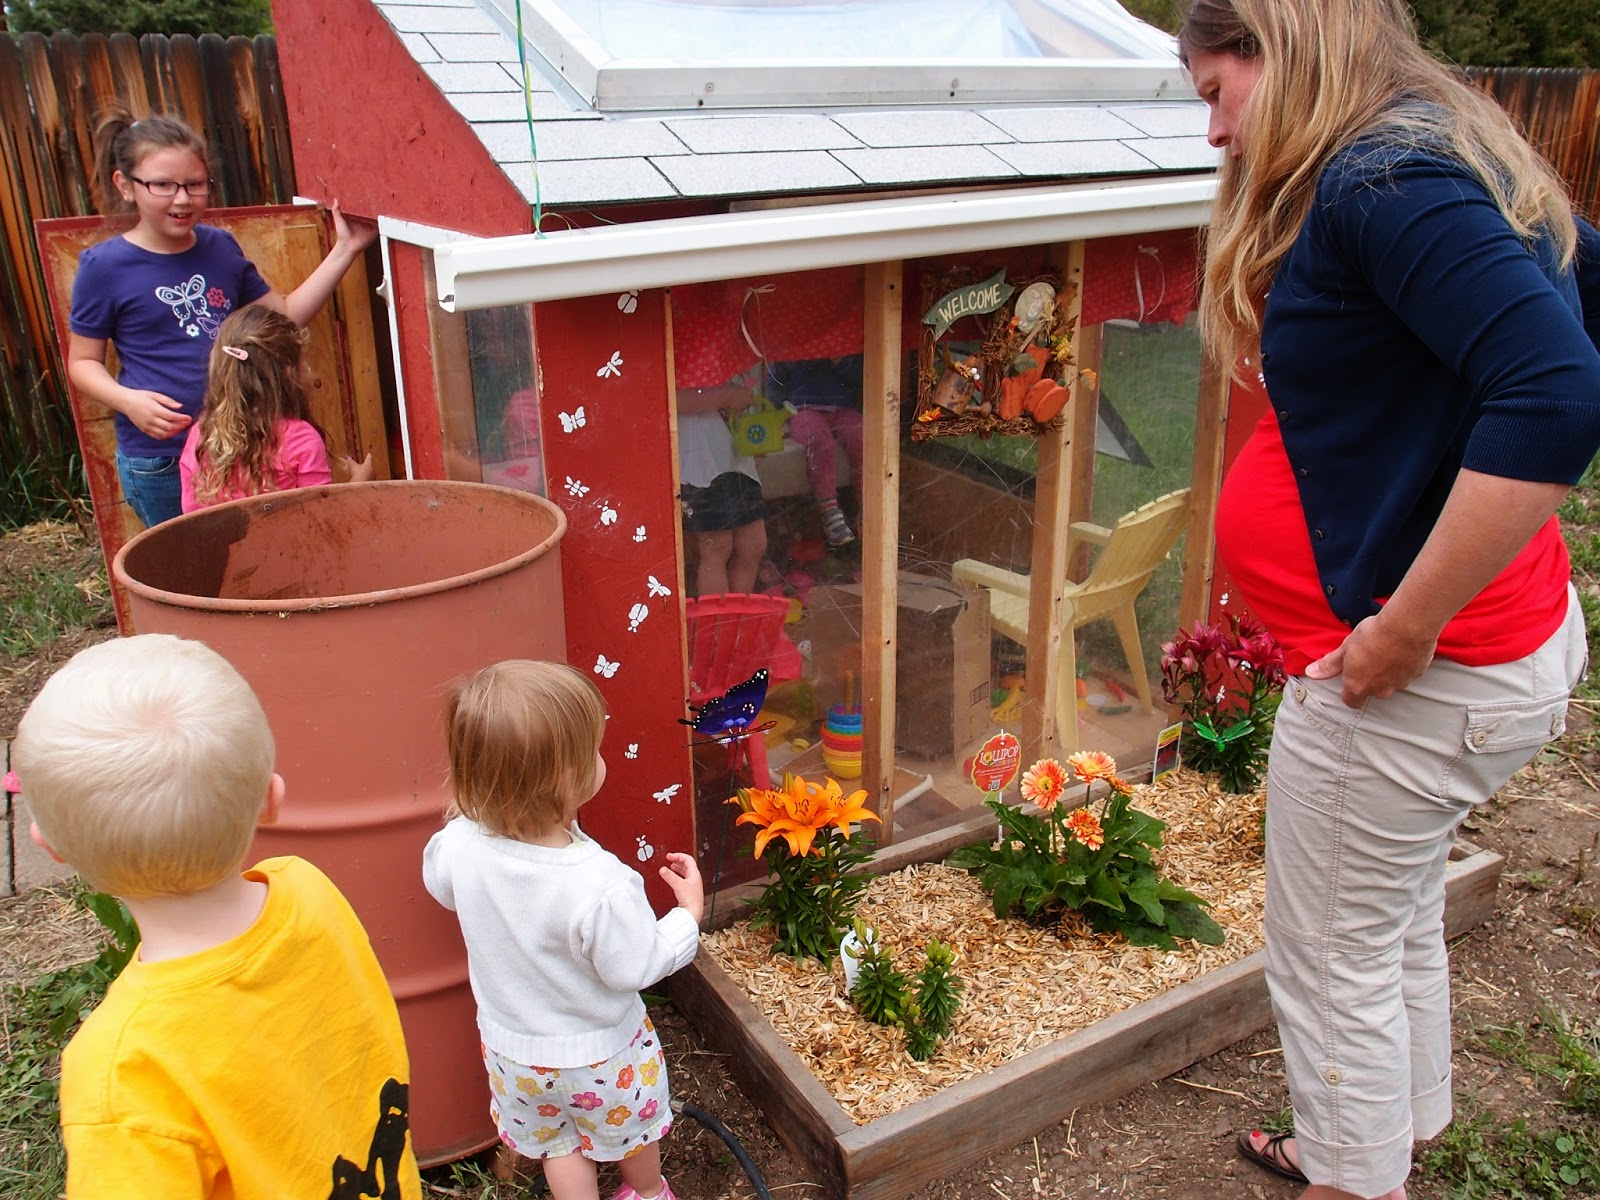
To compensate for the state of the yard in general, we put together a little planter box. We picked out flowers the first year, but every year since we’ve let our daughter pick out what to plant. Some years are more successful than others!


Moving in some friends, toys, and kid-sized furniture.


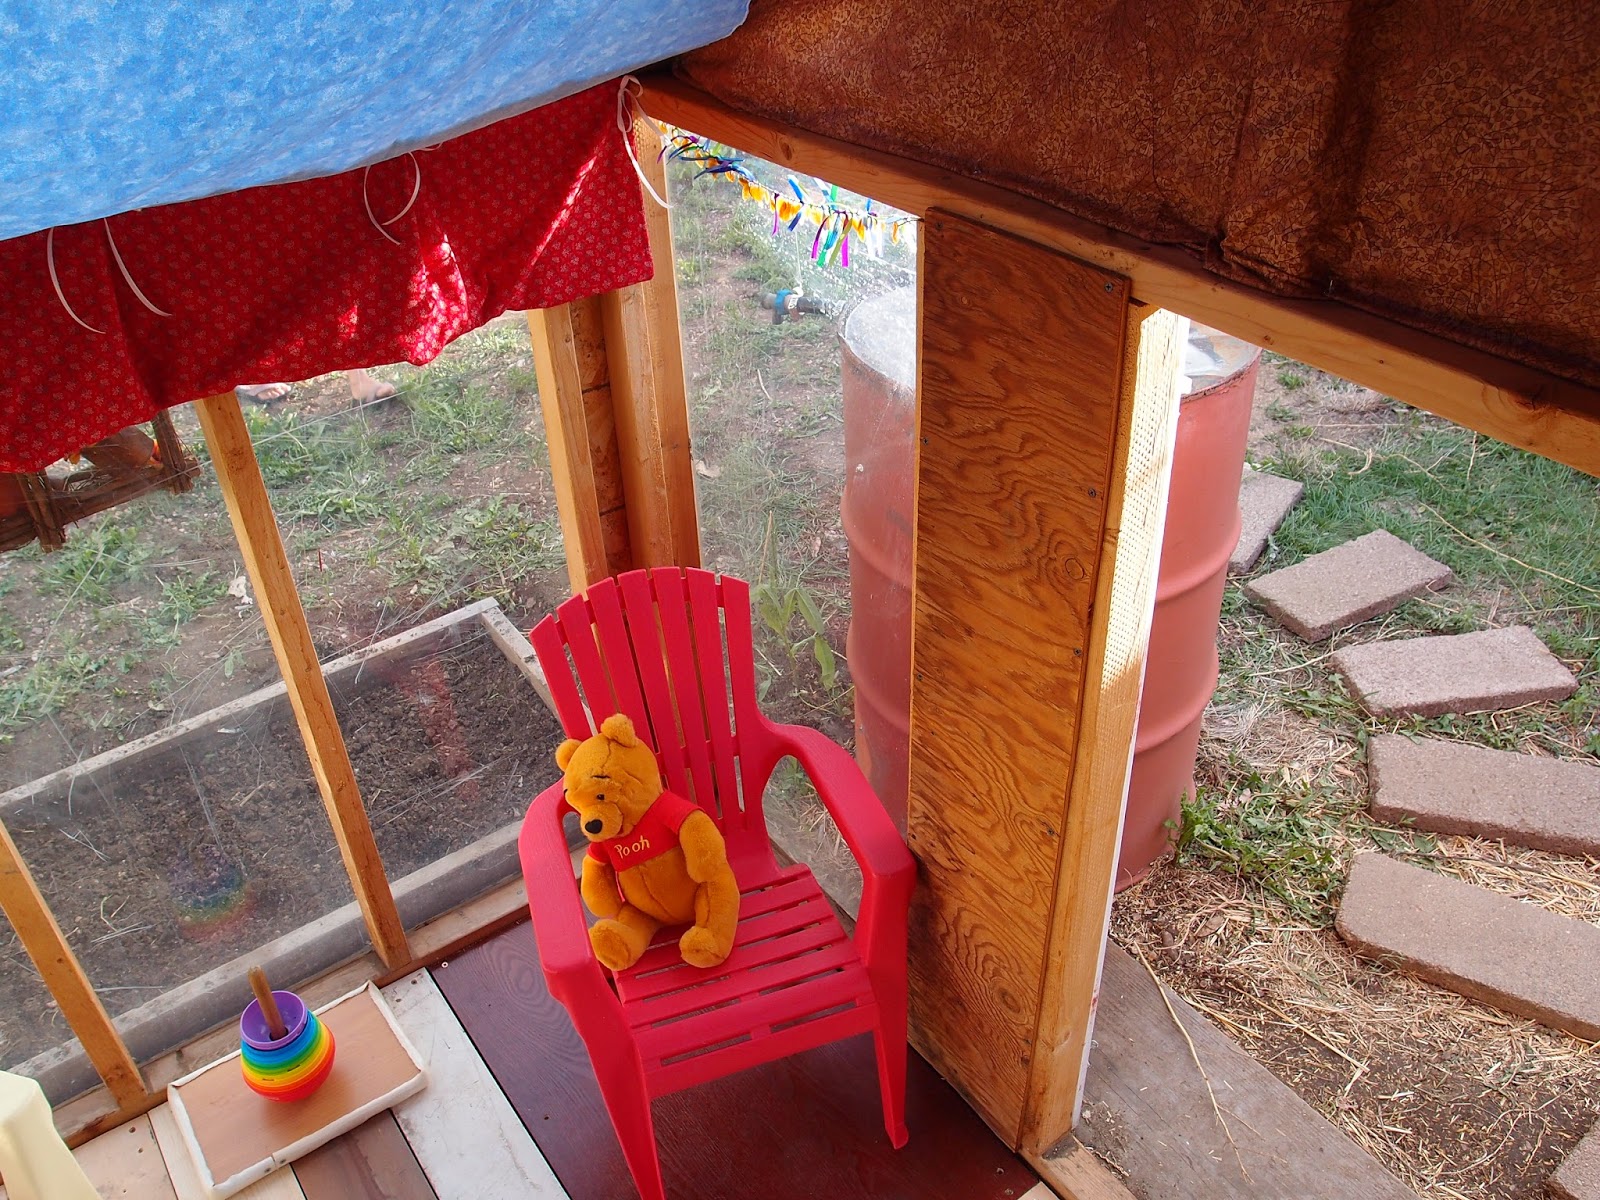
Pooh became a fixture in the play house.


Tinker Bell approved of the flower choices; my wife did some stenciling of butterflies, dragonflies, and other little critters around the house.


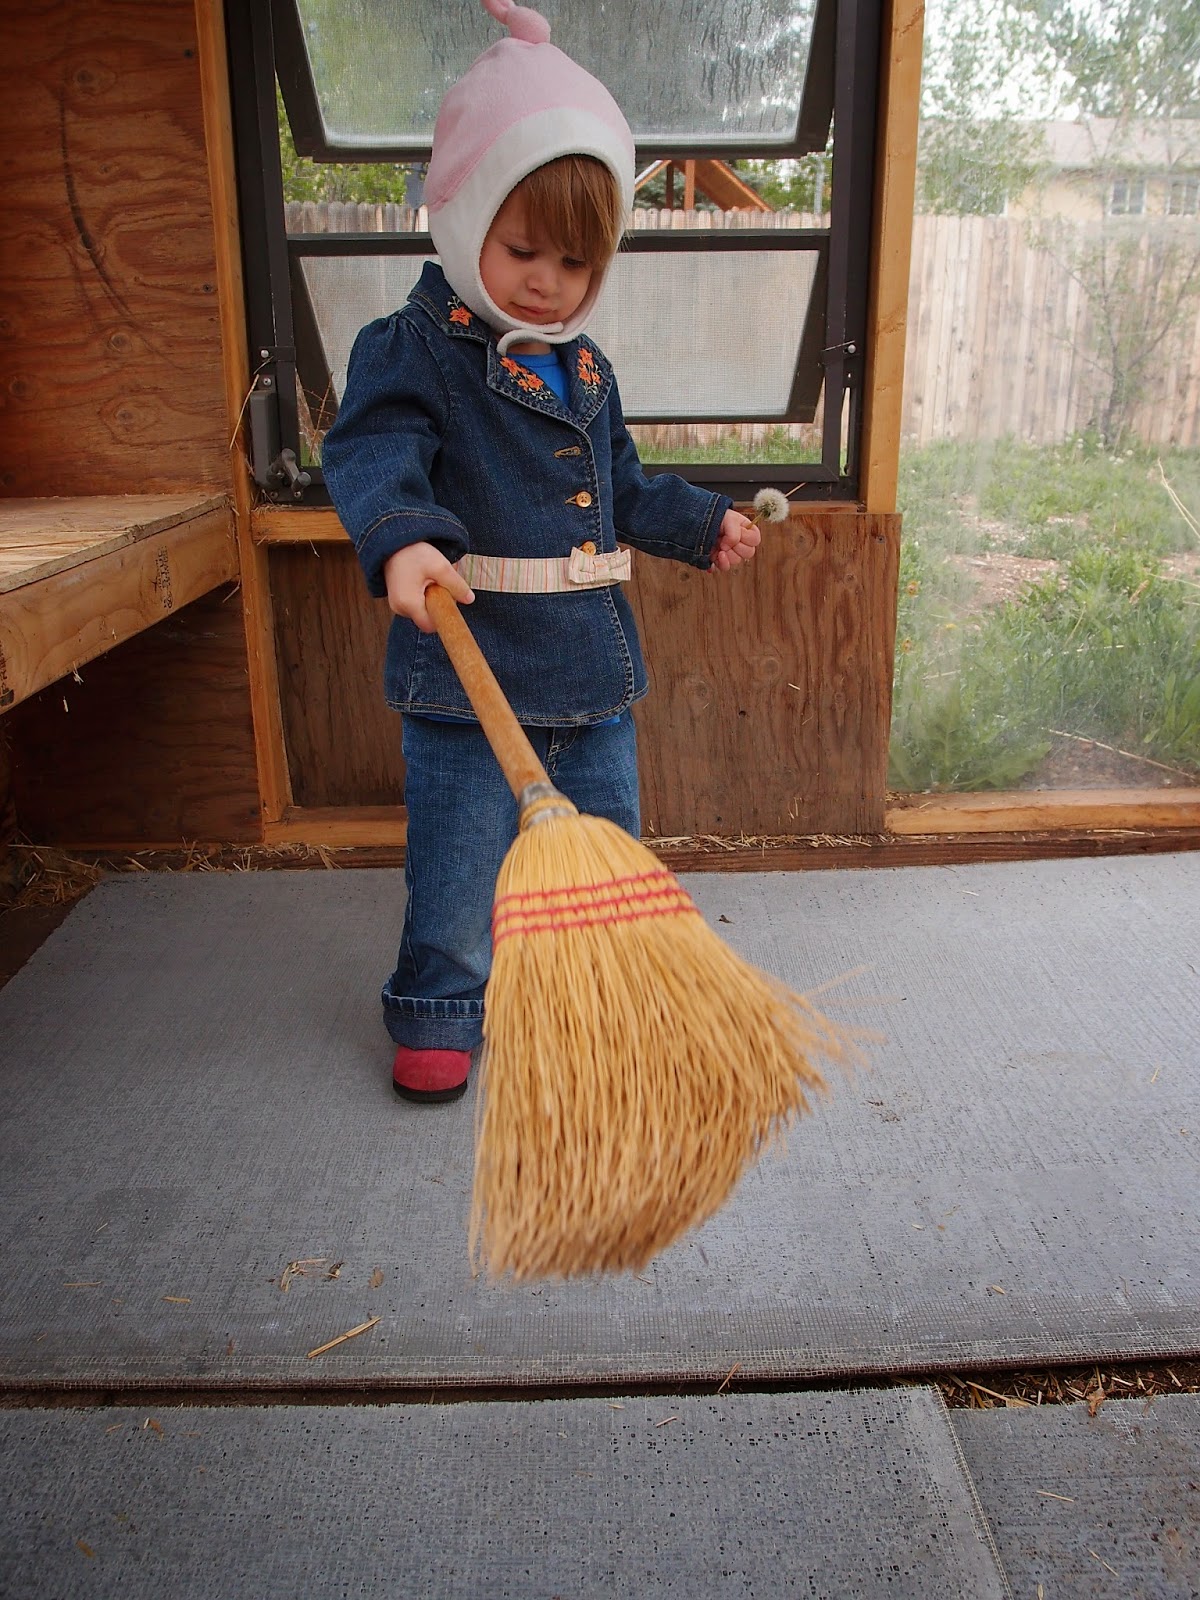
Ultimately I switched my paver plan around to make a little front porch. Something to sweep! Kids love sweeping until they're older.


I wrapped the little perch/shelf with a carpet remnant, which made it a little more fun for small hands to fiddle around with.


Open house! The neighborhood kids loved it, my daughter loved hosting.


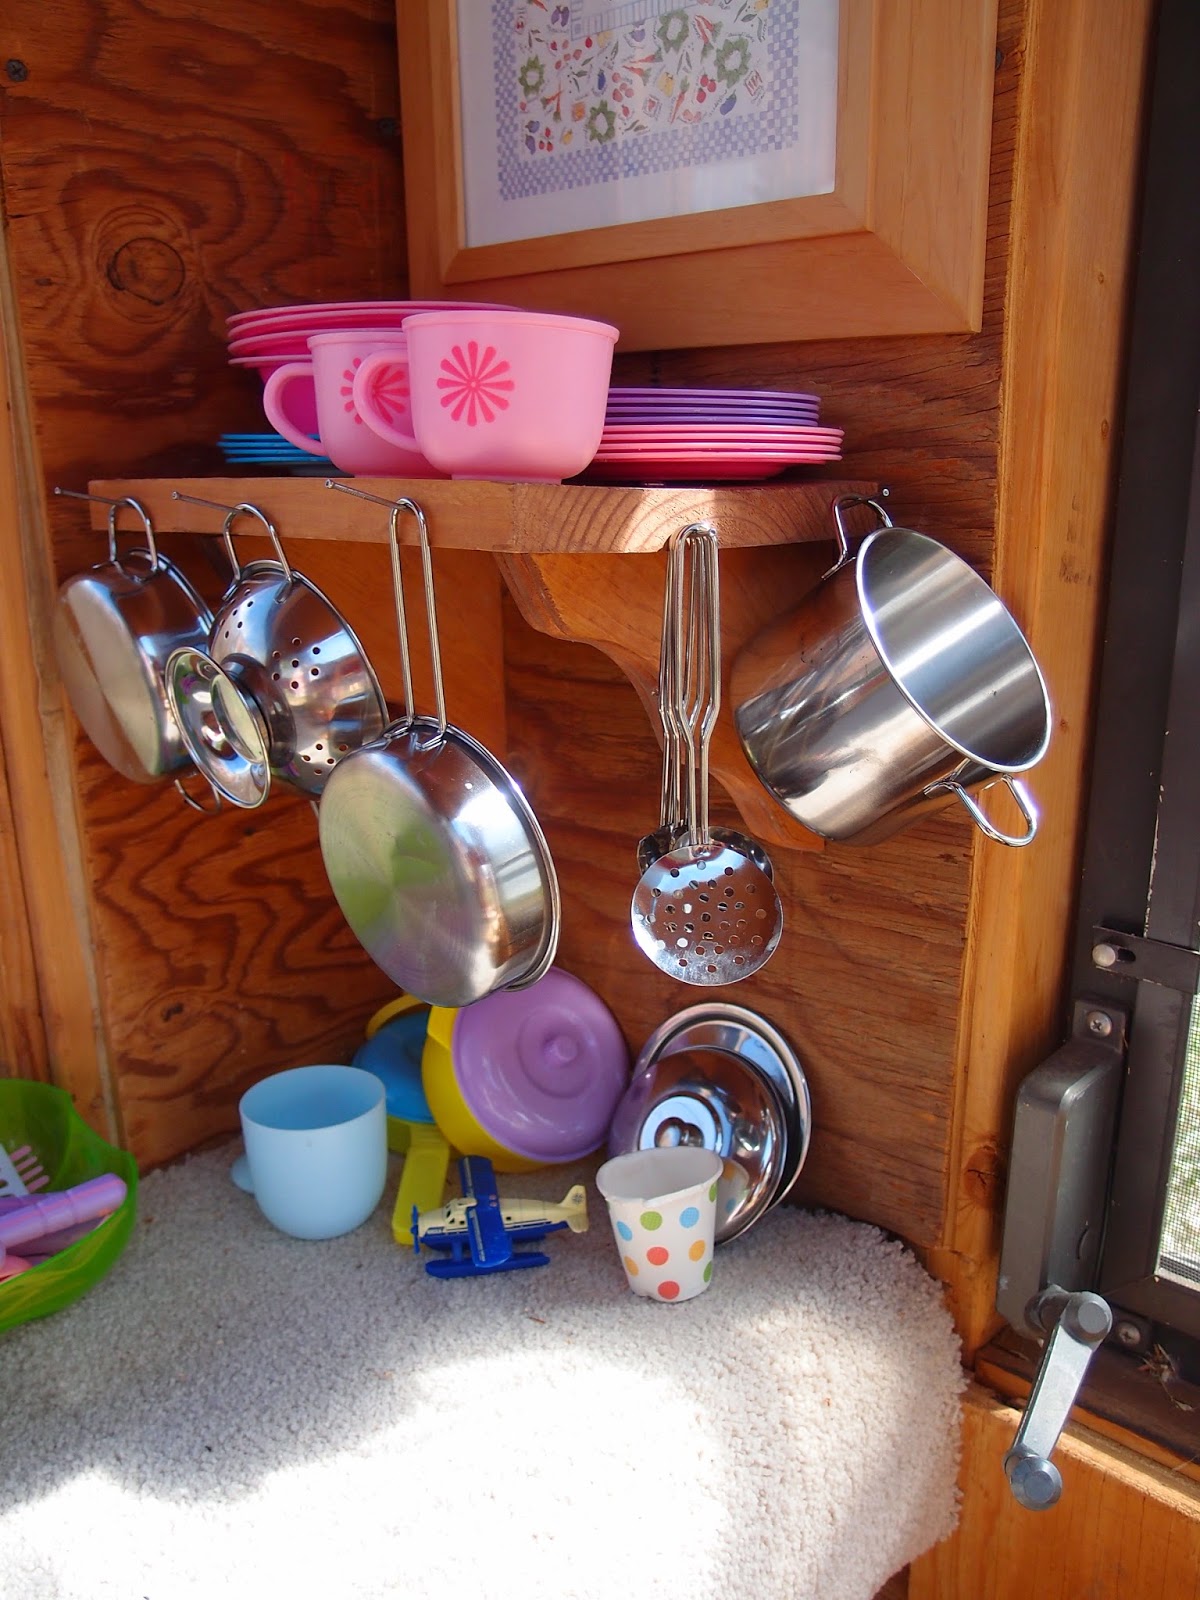
Later I made this little shelf for her cooking stuff; it sort of turned into a kitchen area.


The fun thing about this project is that now, years later, she’s starting to outgrow the playhouse (what with a treehouse out front and all), so she’s been letting us know we should think about converting it back into a chicken coop — and get chickens! We’ll see, I’m not sure I want chickens necessarily, but from my standpoint it’ll be an easy job switching back from playhouse to chicken coop again.

On to the VW Bus Bed Build, the Treehouse Build, the Solar Stock Tank Swimming Pool or the Monster Tub


Monday, February 23, 2015

The Chute-A-Phone: Treehouse Test

The Chute-A-Phone: Testing from Treehouse Height

So typically my build stories come before video, but I've got a bit of a weather delay going here with the Chute-A-Phone. I managed to crank off a single test with the finished product just before the big snowstorm hit, so here's a little sneak peek at the thing.

This video has some boring parts -- most of it, actually, but particularly after the Chute-A-Phone lands and I have to climb back down the treehouse ladder -- so feel free to skip around, or frankly skip the whole thing and I'll have a build story posted soon.

Or, if you like confusing videos and guessing about what I'm on about, enjoy!


Sunday, February 22, 2015

The Monster Tub, Part 5

Finishing Touches on the Monster Tub


At this point it was just a matter of minor details around the Monster Tub. A small bead of caulk around the whole thing was of course critical; I also touched up around the shelving area. A couple of hooks will be great for towels. Or whatever else.


Glass bricks got framed in, too.


By late afternoon, it was pretty much a done deal.


By candlelight, it’s a very calming place. That's the overflow and drain plug release there on the left.


Finally, finally soaking my weary bones. Ahhh…. Worth every second.


Of course, as much as I might pretend otherwise, the Monster Tub wasn't just for me. The beauty of a deep tub like this, if you have kids, is that if you don’t fill it up all the way, the high walls make for less out-of-tub splashing. To wit:


Saturday, February 21, 2015

The Monster Tub, Part 4

Water Testing the Monster Tub, a Wall, and Tile!

Holy cow, it worked!


All things considered it filled up pretty quickly. Very minimal creaking underneath, thanks to the beefed-up floor. It’s a lot of water.


I’d purchased a couple of boxes of a filled travertine tile (again, on clearance), and wanted to use it in the bathroom. Again, I didn’t need much — particularly after the tub took up a third of the bathroom — so to make my life more complicated I decided to turn the 12x12 tiles into some smaller ones and make a pattern. I picked up an affordable wet saw, rigged up a straight line to cut across, and went to town.


I made a bunch of these, basically.


While I was reading about how the heck to lay tile, I decided to take care of the “no door to the bathroom” problem. I found a door on Craigslist, and started framing a wall for it to sit in.


I also wanted a way to keep a bunch of the light from the bedroom coming into the bathroom (I was worried it would seem dark after not having a door at all), so in addition to picking out a half-glass door, I left a hole for some glass bricks. They were fun to put in.


I’d eventually put in a sheer curtain for the door.


Back inside the bathroom, it was time to do the tile floor. Cement board came first.


Then I started on the tile. It was brain work remembering my pattern throughout.


Spacers!


White grout and some trim. I also cut the waste pipe down to attach the toilet flange.


Which foretold the return of the toilet, to the delight of the entire family.


The Monster Tub was almost finished — all that was left was a little touching up, and my first soak.

Friday, February 20, 2015

The Monster Tub, Part 3

Sweating Copper for the Monster Tub


Plumbing time! Something very satisfying about soldering copper. I’m no master plumber, but my ugly work doesn’t leak, so it’s all good. The Monster Tub was going to need a lot.


Here I had little bit of trickiness. I wanted to have the tub filler faucet on the far side of the tub, but the controls on the near side. So I had a lot of copper to fiddle into the correct position.


Here’s my copper pipe monstrosity installed. Hot and cold water arrive at my bought-at-Habitat-for-Humanity-store ceramic valves, mix at the “T” in the center, and head out to the tub filler faucet. I’ve also turned a floor vent from the central heating system to vertical; it will come out of the tub box on the other side there. Warm feet sitting on the toilet! Husband of the year, right there.


Close up. Note the sheet metal over the wood, so I don’t burn the house down with the propane torch.


Here I am doing a little vertical flooring, so to speak. It went pretty smoothly until the end.


The last piece I had to cut longways to fit, then glued it in place. The pet/baby gate there is wedged in to hold the last flooring plank on tightly while the glue dried.


I’d never laid tile by myself before, much less on a wall -- but I really liked the look of these stainless-wrapped tiles I’d found online. So I bought a box to put around the tub as a sort of splash guard. Trouble was, cutting them for size (around things) wasn’t particularly easy. I finally figured out I could cut the stainless part with the Dremel, then snap the tile (where the uneven Dremel work had conveniently scored it) with two pairs of pliers.


Here’s the tile stuck on the wall before grouting. Look at how a single row of it fit just perfectly under the window sill. Like I said, not a lot of room to work with, but it's better sometimes to be lucky than good. And you can see my tub filler faucet up there on the shelf, waiting its turn.


Last thing you want is a cold tub, so I bought insulation and stuffed a bunch in there. You can see I've grouted the metal tile, too. A lot easier than I thought it would be, the grout really sponged off the metal quickly. Oh look, the hole to the living room is still there....


That new Monster Tub was going to be so happy in this nice soft little nest.


So once I dropped the tub in place — with like a whole inch to spare on either side, thank you very much — I realized I’d forgotten I needed to be able to attach the overflow from the outside. Duh … so I took off my nice flooring, cut a hole in the particle board, and attached it properly. Then I fixed my hole and put the flooring back on. Ah, well.


Did some more taping and painting to bring just a little more orange paint down to the grout. Looked great! Now it was time to put the Monster Tub through a water test!

The Monster Tub, Part 2

Drywall and Creative Plumbing for the Monster Tub


I used some green drywall board I had laying around, as well as a couple of white sheets bought new. Here I’ve progressed on the tub box walls (dead-on level! I'm so easily pleased...), and I've decided to turn the closet into a little shelf, for towels and what-not. The tub waits patiently in the other half of the room — remember, it’s just a 6x9 space, so I wound up scooting it around a lot.


A little more drywall in place. My wife is downstairs, waving to remind me I haven’t closed the hole in the wall and it’s been like a week or two now. Sorry, honey.


Tape and texture! Heavy texture covers up a lot, thankfully. Also that’s what the room already had on the side I didn't tear up, so I matched it. You slather a bunch on, then whack it with a brush. More or less.


Ah, the orange. I bought two gallons, barely needed one. This is the paint I eventually pulled out for the VW Bus Bed project. My wife picked it out. I figured I'd do the painting before I had the Monster Tub in, to spill less junk on it. Also it was easier to stand (and put a step stool) on the floor, rather than in a tub.


So I cut my plywood to fit the box, then traced the tub and jigsawed that bit out. Again, you might see the curve matches the eyebrow on the VW Bus Bed (I kept the plywood. I do that.). And the hole to downstairs is still there. It’s going to be there for a while....


For the overflow drain/vent, I realized I wanted to have it on the inside face of the tub — so when you walked into the room, the first thing you saw in the tub was the (likely expensive) tub filler faucet, not the vent. Also, since it would also house the drain release mechanism, I didn’t want to have to reach over the whole tub to drain the thing. This required a little creative pipe work.


This shows it a little better; the black cable goes down to the drain plug mechanism (which is wrapped in a plastic bag so I don’t drop stuff in it).


Next, I wanted to finish the tub box with wood — because I thought it would look neat. But with the water right there, I needed a wood "product", so I chose some pre-finished lock-n-click (or whatever it’s called) wood flooring, two boxes of which I found on clearance at the big box store. I put down the foam padding first, then hand-cut a bunch of pieces to go around the tub hole.


I stopped cutting a nice curve around the wood once I realized it wouldn’t show under the tub lip. My next trick would be some complicated hot-’n’cold plumbing for the Monster Tub.

On to: The Monster Tub, Part 3