Putting a Monster Tub into a 6x9 Bathroom
When we first moved into our house, one of the “issues” I wanted to resolve in particular was the lack of a bathtub. I mean, I’m sure it’s done, but I couldn’t imagine raising a child without one. What’s more, I’m a big fan of taking a soak, myself; I don’t need a jacuzzi necessarily, but being able to slink into some hot water at the end of a hard day has its merits, particularly as the old bones get older.I wanted to make a little fortress of tranquility, a quiet spa-like space where I could soak in peace. There were two candidate bathrooms, one where a tub absolutely would not work, and one where it probably wouldn’t. Here, believe it or not, is the better choice as it looked at the time.
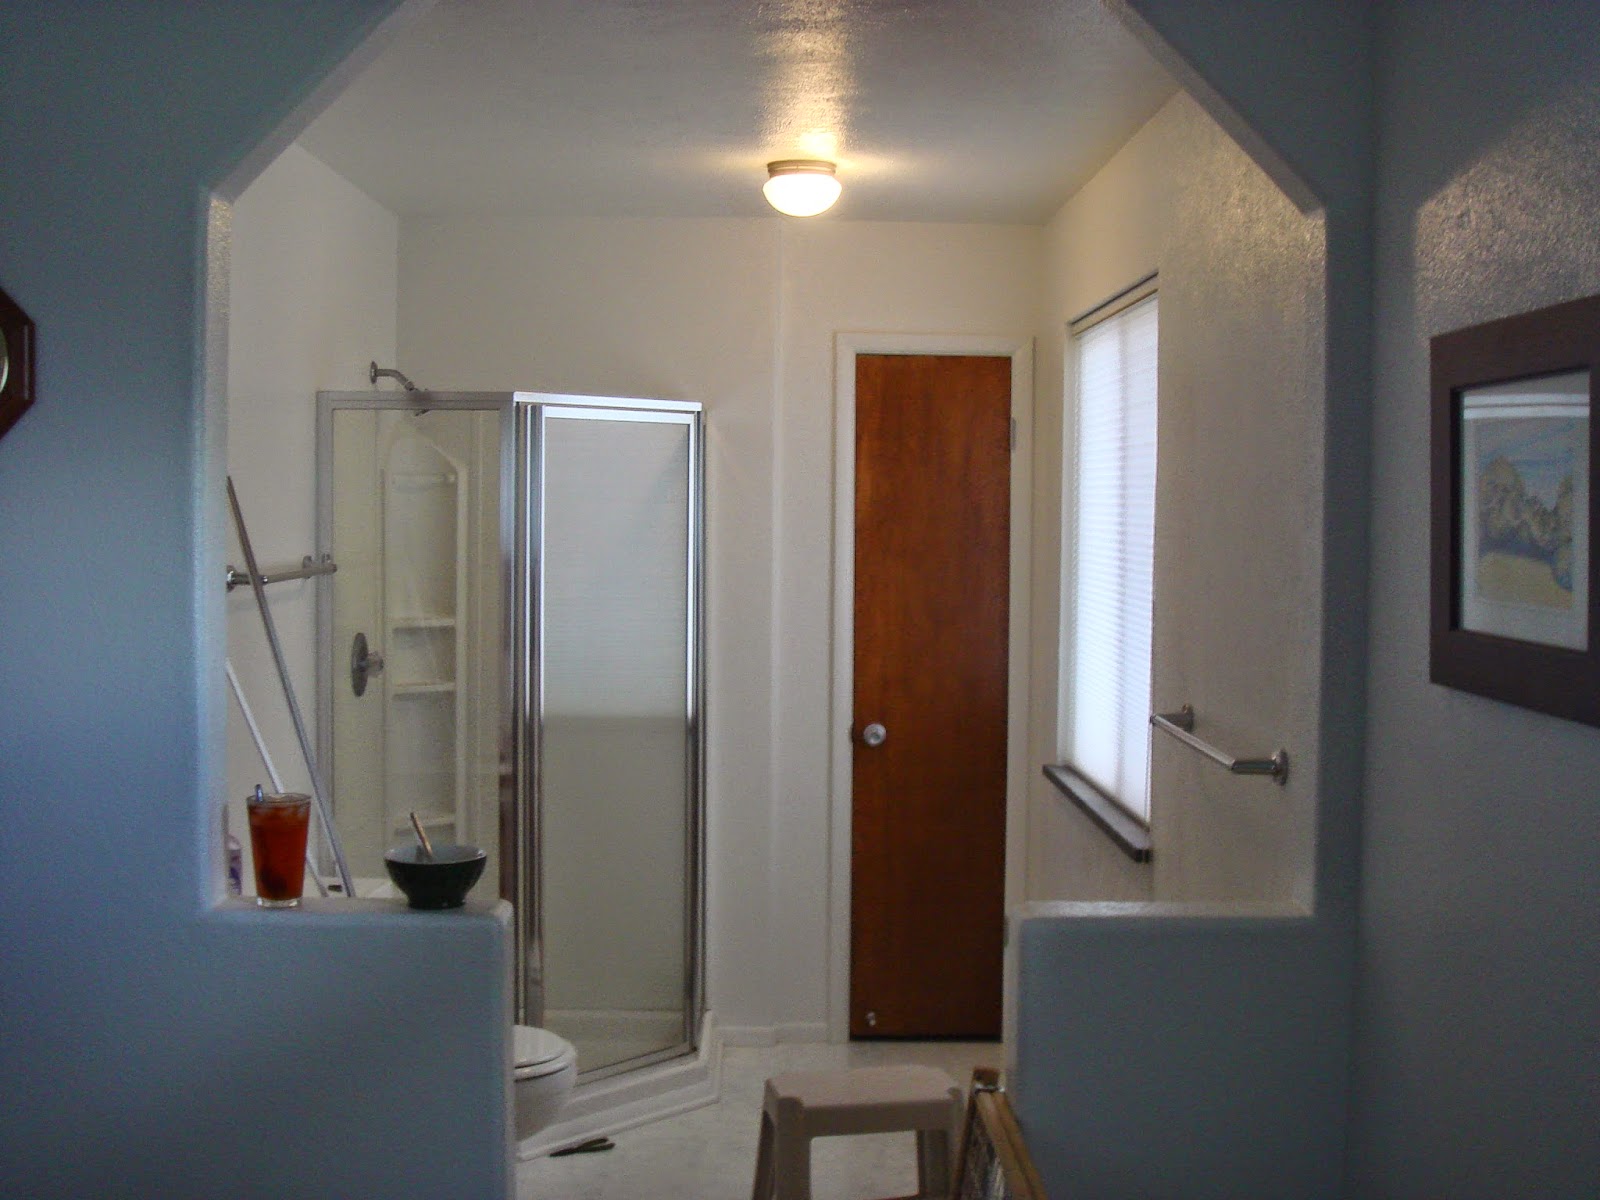
Yeah, a monument to white paint. And, no door. I have no idea why not. But there you have it; toilet, sink (behind the half wall), shower, and little skinny closet. The space is 6 feet by 9 feet, not a lot of options.
One day I was out with my wife and we popped into a kitchen and bath store — the kind that sells high-end ovens and 27-jet spa tubs. I had a blast looking at all the things I couldn’t afford, then spotted a funky little fiberglass tub in the corner with “clearance” marked on it. For just over a hundred dollars, there was a 100-gallon, two seated (face-to-face) center-drain soaker tub, just two inches shy of 6 feet long, and just a little over 3 feet wide.
Thinking it would just barely fit and the price was right, I bought it. And the project began!
I’ll spare you the pictures of us tearing everything out, and we’ll start here.
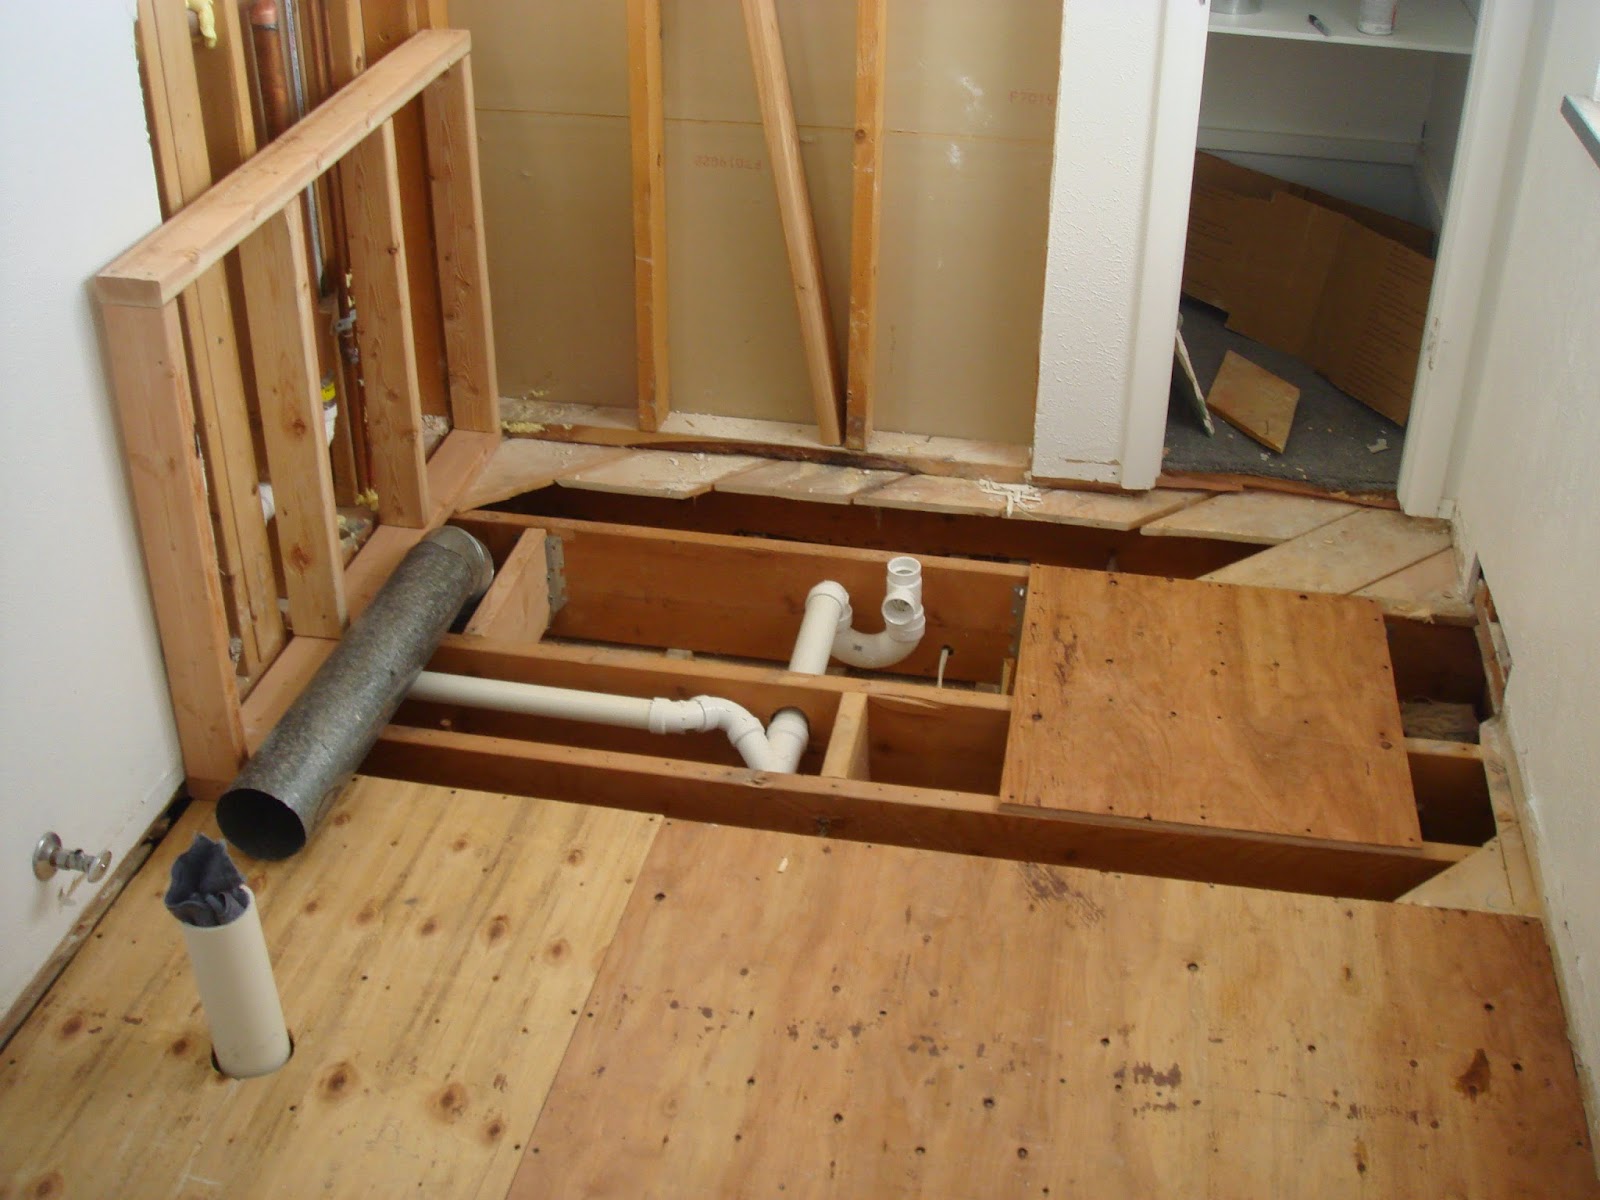
I removed as much of the shiplap (diagonal board) flooring as I thought necessary, because I wanted to beef up the floor joists and stabilize everything with really good plywood. So by this picture, I’ve torn up the linoleum, cut and pulled out a bunch of diagonal subflooring, put in joist-hangered cross bracing between many of the floor joists, and started dry-fitting PVC pipe to figure out about where my center-drain tub was going to drain. Oh, and I’ve built one wall of the box that will eventually house the tub — you’ll step up to enter it. Next to that wall you can see I'm experimenting with diverting a former floor heating vent out the side, and the toilet's been removed -- and the waste pipe's been scooted about a foot to make room for the Monster Tub.
Interestingly, while I knew the Monster Tub would just fit (once in the bathroom), I hadn’t measured to see if I could actually muscle it through the long 1960s hallway, much less up the stairs and around the corners involved. In fact, it turns out there was only one door in the entire house the tub could even fit through — the front door. After that, I was out of choices.
So, Sawzall to the rescue.
I pulled some nails and removed the wall framing, then cut a Monster Tub-sized hole in the drywall — figuring I could patch it later. That’s the living room down there.
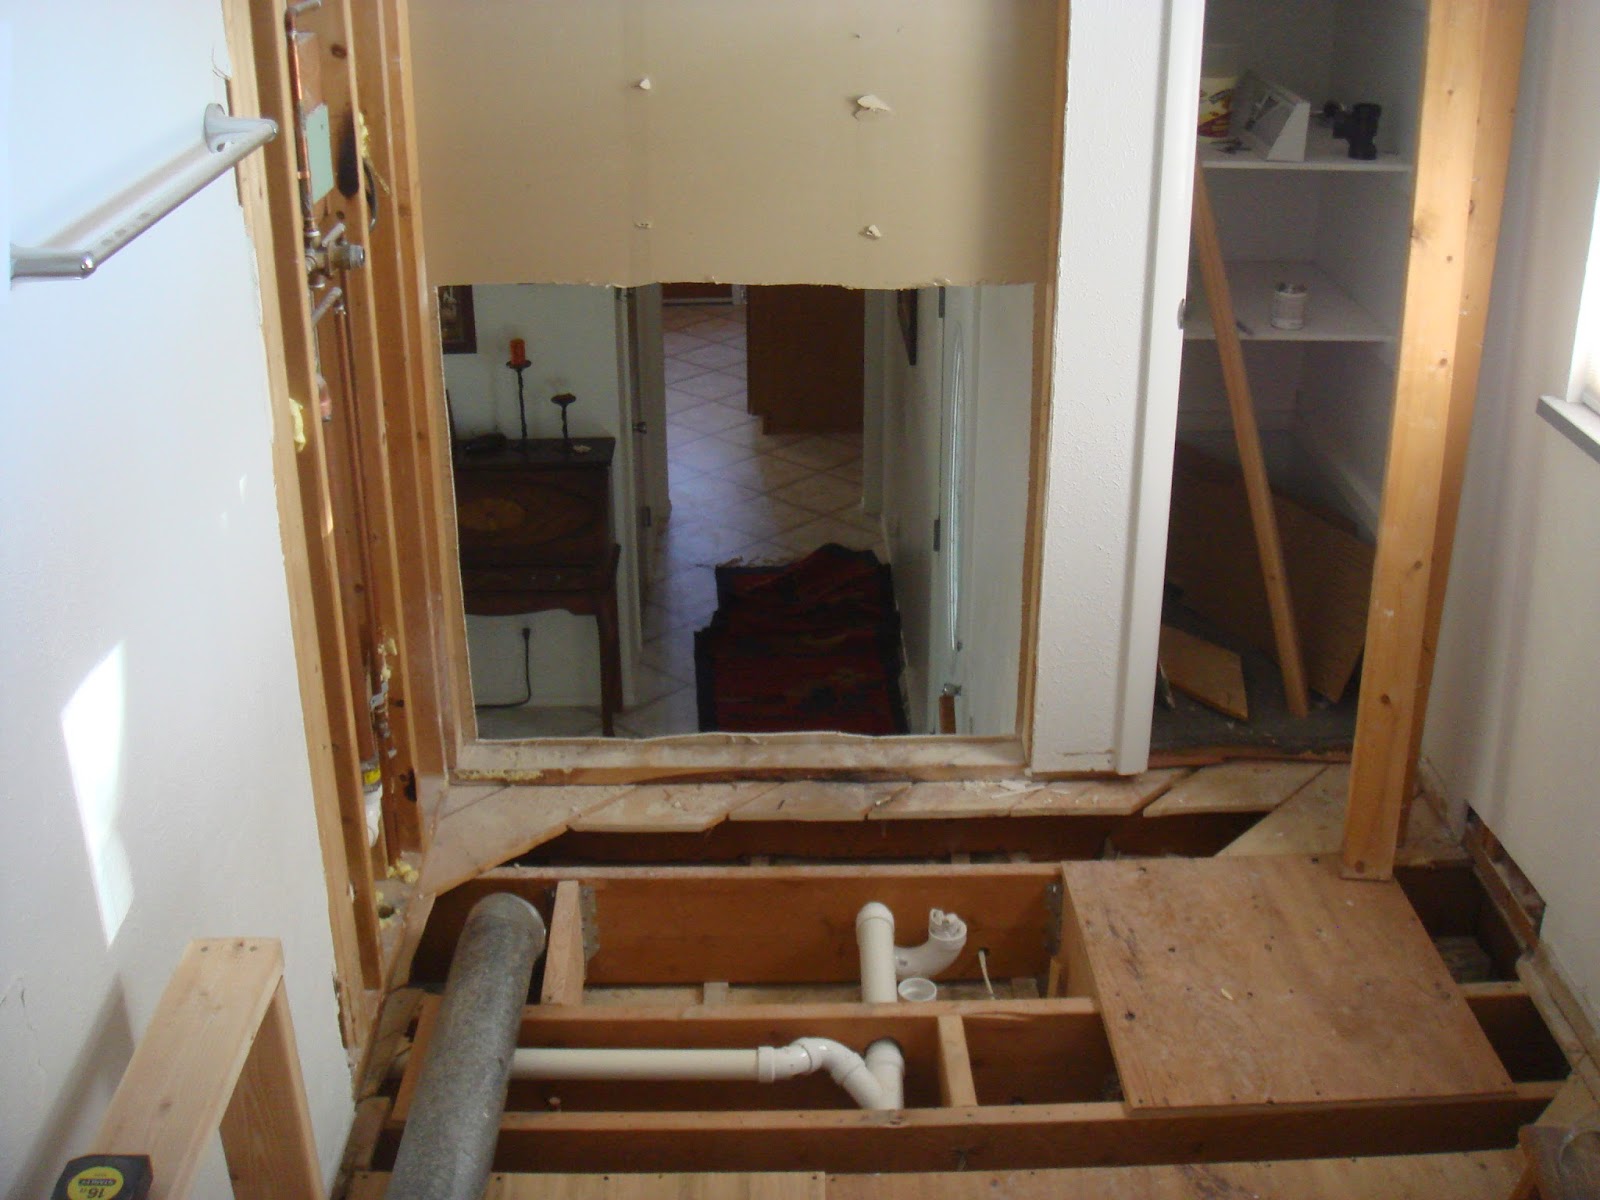
Another view from below, with the Monster Tub neatly through the hole and in the bathroom! Front door to the left, split-level basement dead ahead, dogs thinking the mailman has treats.


On to: The Monster Tub, Part 2
No comments:
Post a Comment